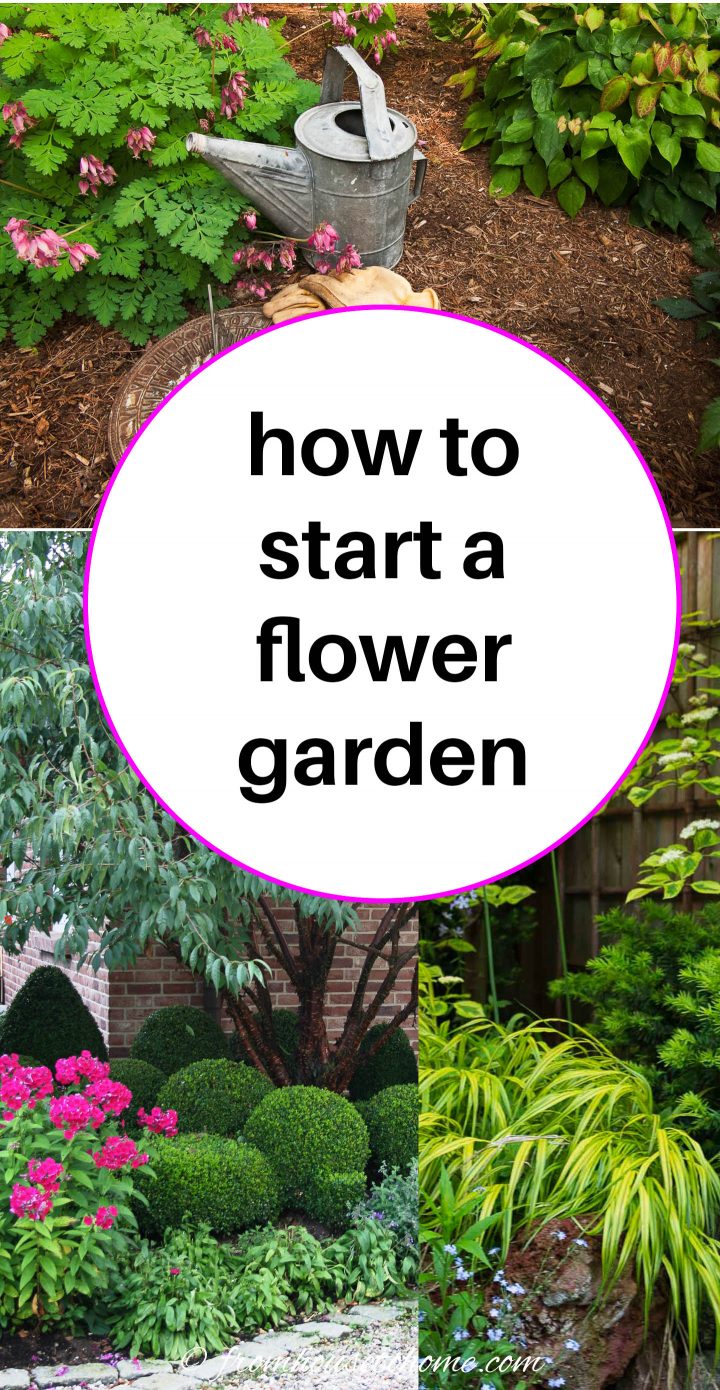
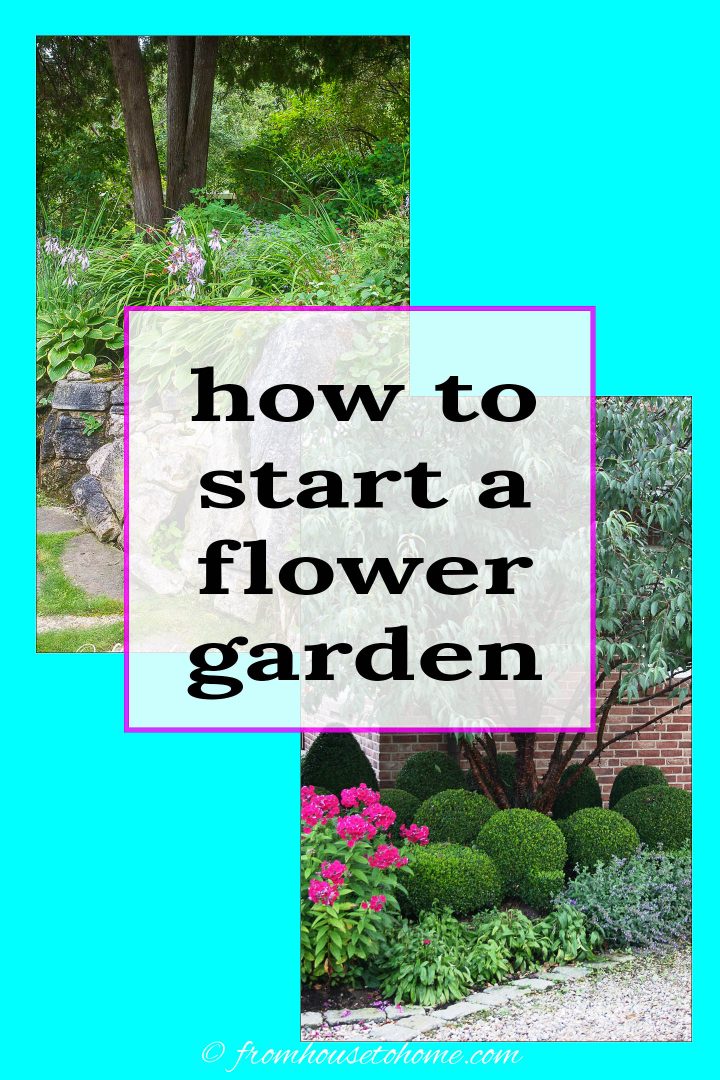
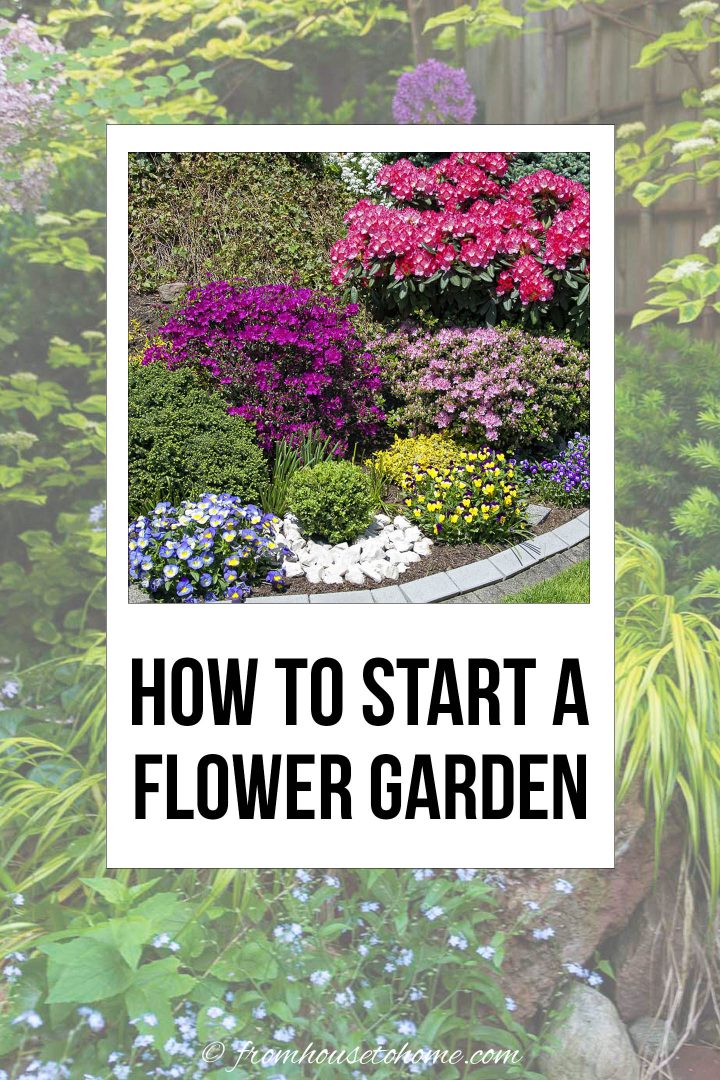
How to Start a Flower Garden You’ll Love for Years to Come
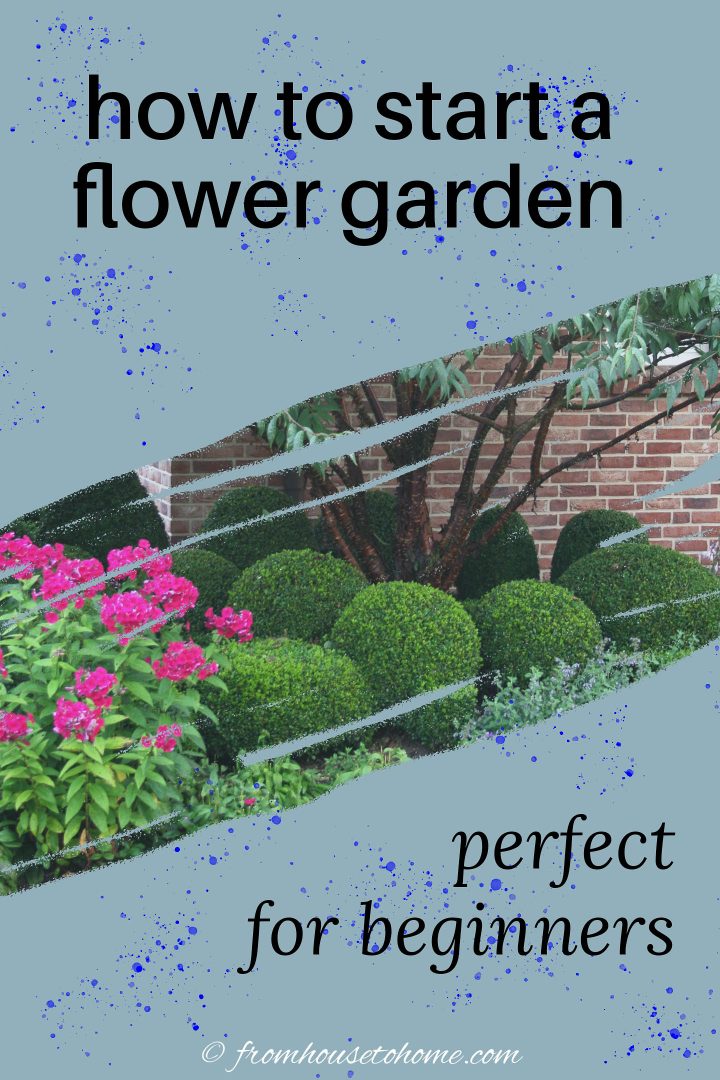


With a relaxing floral scent and stunning blooms for months on end, who wouldn’t want a flower garden? This guide leads you through everything you need to know on how to start a flower garden in your own backyard.

While I love growing herbs and vegetables, I have to admit that flowers hold a special place in my heart.
Whether it’s in a bouquet or a wildflower growing next to a pathway, I always stop for a moment to appreciate their beauty.
From a large and brilliant summer hydrangea to a small and dainty spring crocus, I love them all!
How to Start a Flower Garden
This post may contain affiliate links. We make a small commission if you buy the products from these links (at no extra cost to you). As an Amazon Associate, I earn from qualifying purchases. But we only recommend products we would use ourselves. For more information, click here to see our disclosures.
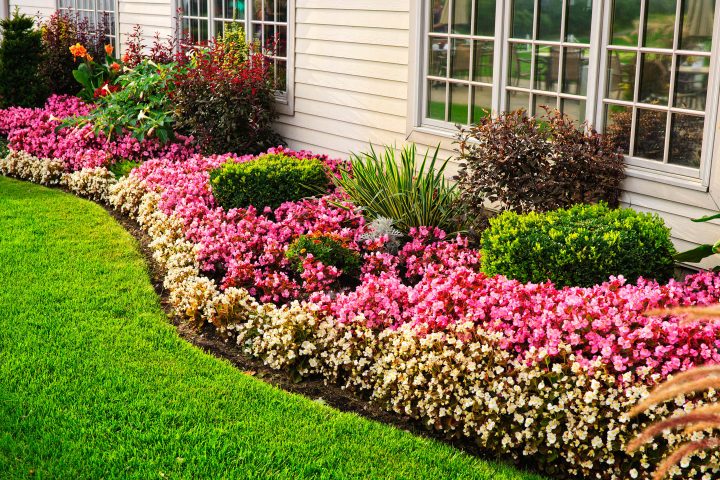
Many homeowners have a nice lawn, but want something that will add more color and interest to their yard.
And that’s where flower gardens shine! They’re also a great home improvement for adding curb appeal.
If this is you and you’re not sure where to start, these steps will help you create a beautiful flower garden that will last for many blooming seasons to come, even if you’re a beginner.
Plan Out Your Site
Before you can start any manual labor, you must make a flower garden plan.
Take a look at your backyard or current garden and decide where the best placement for your flower bed will be. Consider these factors:
- How much light shines throughout the day? Does it get full sun or is it mostly shady?
- Can you water the area easily?
- Will the water drain well from the area or pool instead?
- What are the conditions of the soil?
- Is it sheltered from harsh weather conditions such as wind?
- Will it be in the way of any activities or footpaths?
- Are there any underground utility lines?
While it would be amazing to find the perfect spot that satisfies all of these conditions, chances are not everything will be ideal.
Do your best to find the best area, but know that you can also work around some factors in your flower garden plans.
Once you have your area selected, try to envision the shape of your future flower garden.
Starting off with a garden map can be very beneficial in determining the size of the bed.
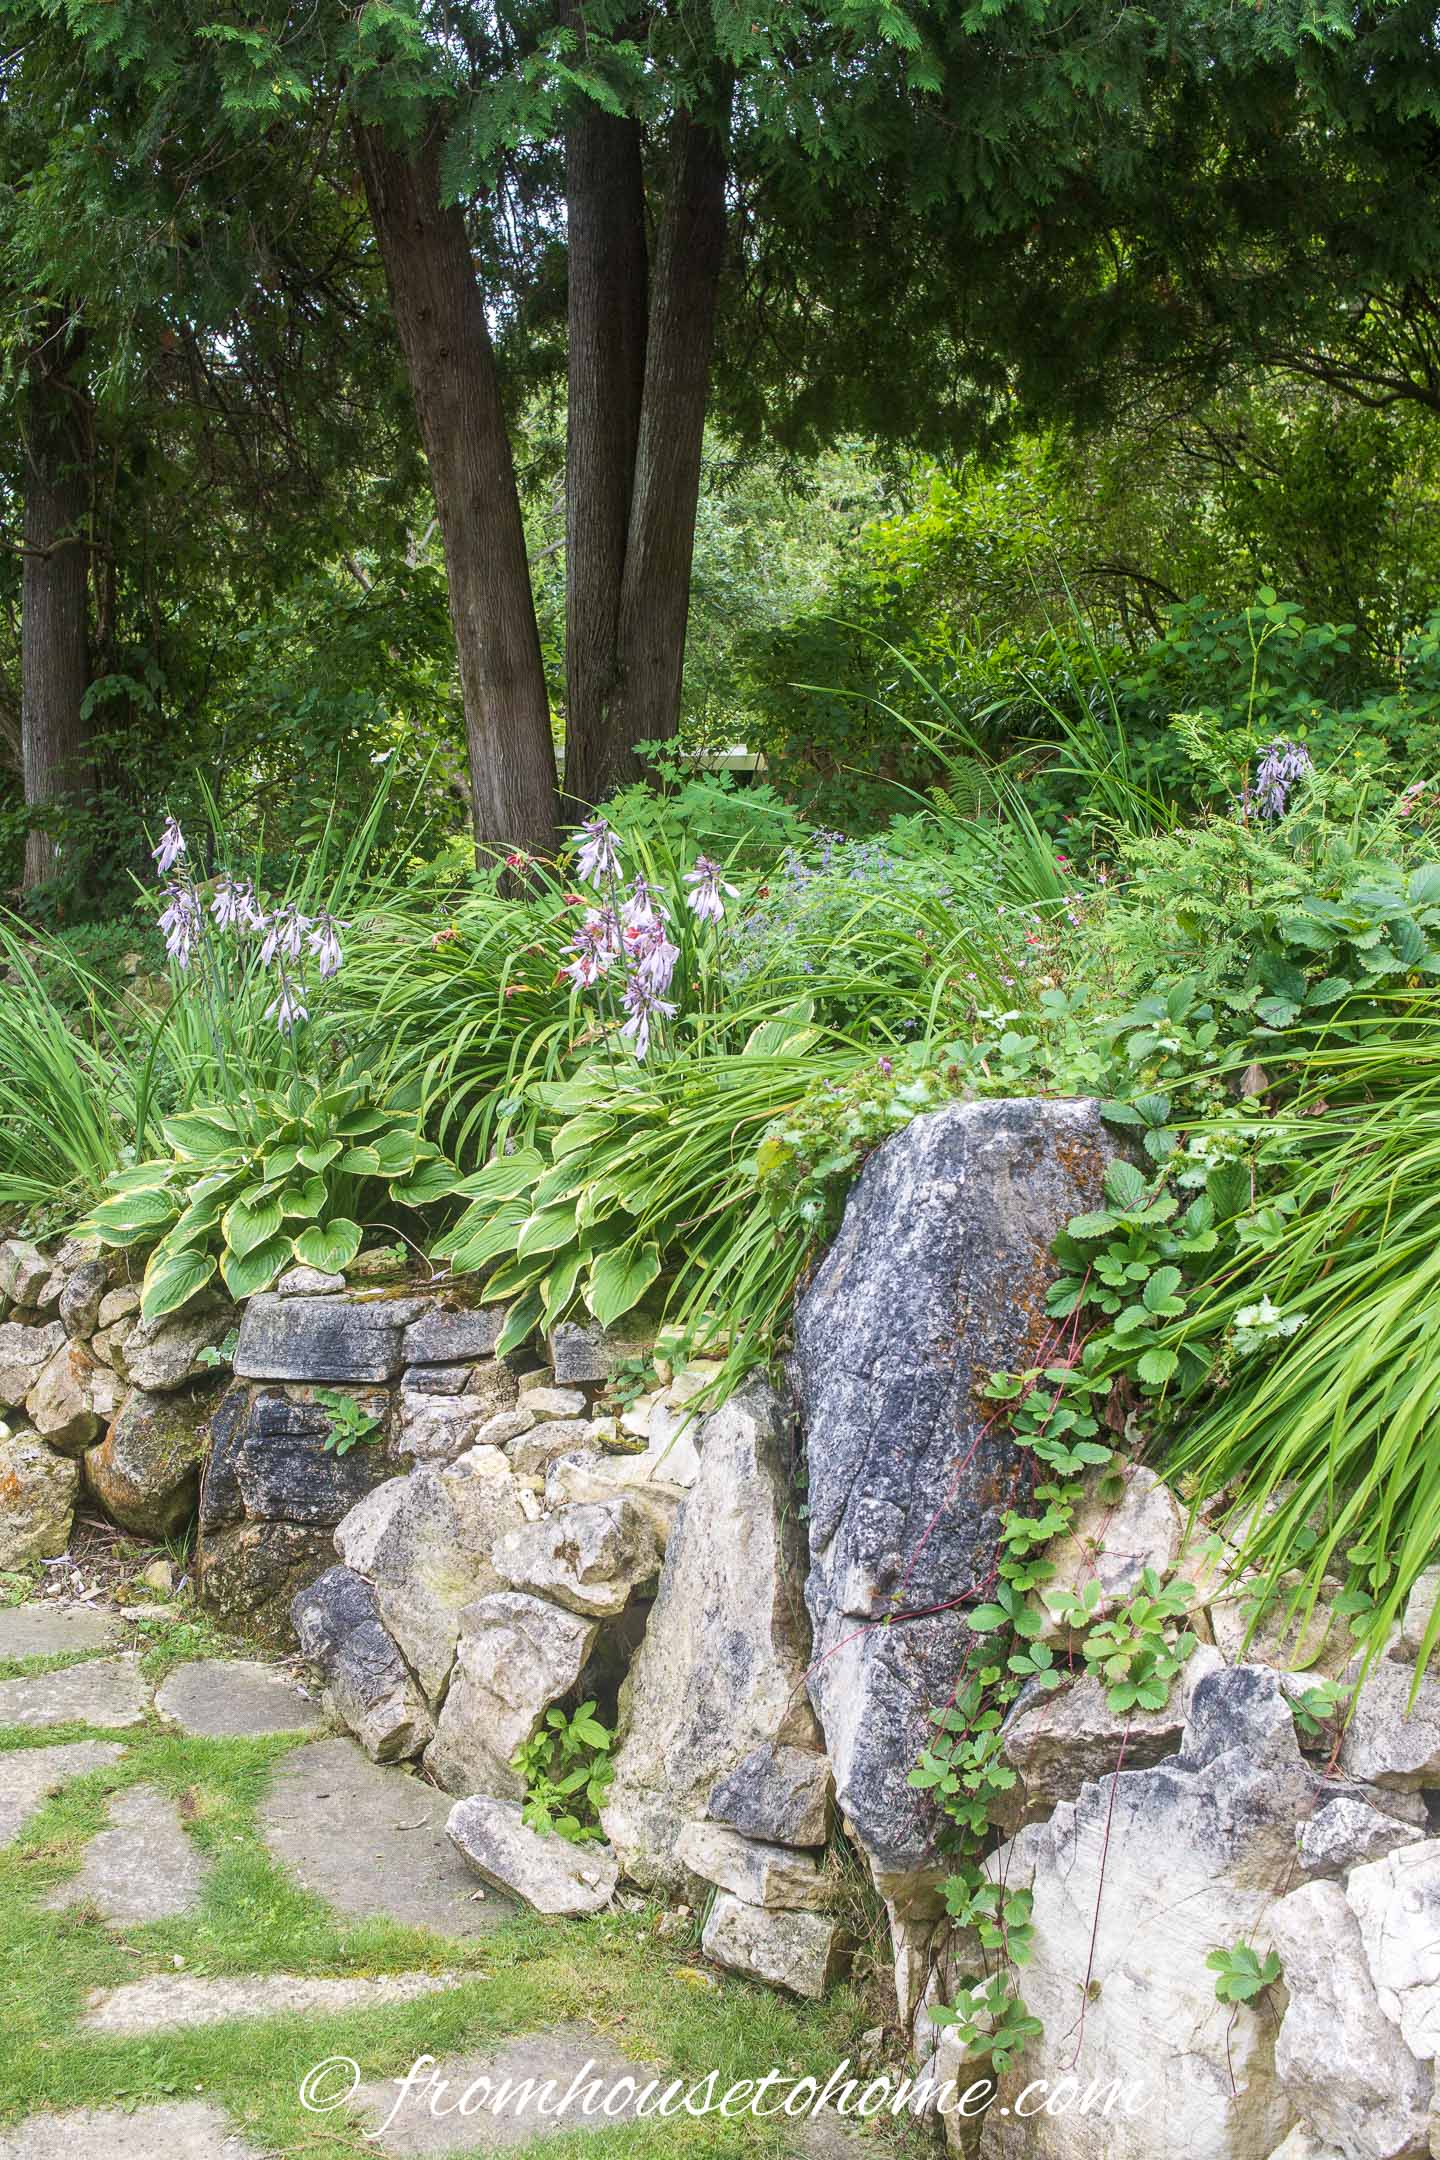
Draw any existing trees, shrubs, pathways, patios, boulders, and anything else that may be in the area. If possible, draw it to scale.
Now that you’ve determined the area and general size of your flower garden, you can go outside and physically map it out.
One of my favorite tricks is to outline with a garden hose to get a natural shape and play around with placement.
Remember, it doesn’t have to be square or rectangle! Unless you are planting a formal garden, rounded shapes look more natural.
Find more tips on planning the perfect garden HERE.
Prepare the Soil
Now it’s time to grab your shovel and let’s get digging.
These small steps will help your garden to grow successfully.
If you’re starting in an area that has existing plants, you may need to remove them. Dig out any unwanted plants carefully to avoid removing too much soil. Chances are, you will have to remove a fair amount of grass.
You can also use herbicide to help kill off any vegetation but avoid doing so if organic gardening.
Once everything is clear and good to go, turn over the soil with your shovel or fork.
Damping the soil can make it more workable, but make sure it isn’t muddy (which will cause the soil to get compacted and make it harder for plants to grow).
Next, use a till to get a little deeper. You will want to dig down about 12 inches if possible.
To create really good soil, mix in some store-bought top soil and some peat moss (which helps with drainage).
To finish off your soil, add a good, thick layer of compost. Choose a mixture with both fine and large chunks and apply 2-3 inches of it.
This will ensure your flower garden has tons of organic matter to draw nutrients from for big, beautiful blooms.
You may also want to do a soil test so you know how acidic or alkaline it is. This will help you determine which plants will naturally grow well, and which ones you’ll need to help with amendments.
You can usually get soil tests done at your local cooperative extension.
Find out more about soil pH and how to test it HERE.
Install Flower Garden Edging
An optional step, garden edging not only makes your garden look pretty and put together, but it also helps to keep the soil in place.
You have a few options when it comes to flower garden edging.
Metal or Plastic Borders
Practically invisible, borders help to separate lawn from garden by creating a subtle transition.
They come in plastic or metal, with some being nearly invisible and others having a slight bulge at the top.
To install one:
- First, clear out any topsoil close to the edge.
- Using a square spade or edger, dig a trench between the lawn edge and the flower garden.
- Place your selected borders into the trench and lay it evenly against the edging.
- Depending on the edge, you may also need to add some stakes for extra support.
- Lastly, fill in the gap with the soil from your flower garden and lightly compress it.
Edging Stones
For a more stylish look, consider using bricks or concrete pavers to outline your flower garden.
They will keep the soil in and the grass out.
To install edging stones:
- Identify your edge and measure the length of the pavers.
- Dig a wide trench large enough to fit the pavers.
- Line the bottom with landscape fabric to keep the weeds down.
- Then fill in some sand to help hold the pavers in place and even them out.
- Place your pavers together as tight and straight as possible. Take your time with this one to get a beautiful and professional looking finish.
Find more garden edging ideas HERE.
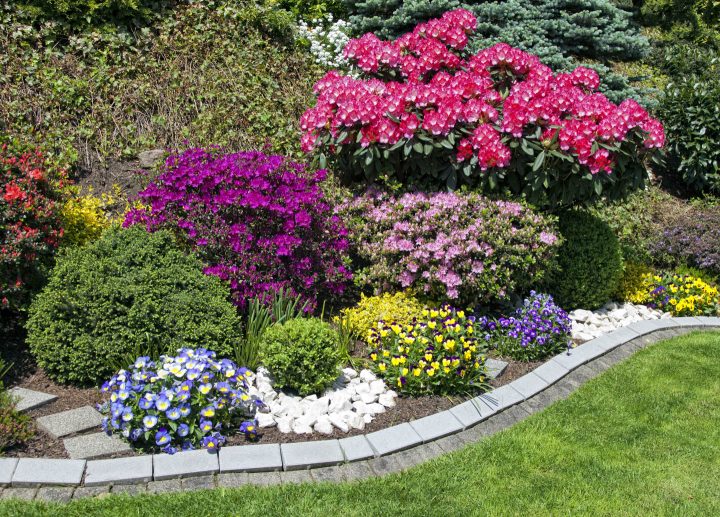
Pick Out Your Flower Garden Plants
Now it’s time for the really fun part because you get to visit the garden center and choose the plants for your garden!
Just like how you don’t go to the grocery store hungry, you shouldn’t go to the garden center without a plan.
While it is so much fun to go wild and pick all the pretty flower garden plants you lay eyes on, having a general plan in place beforehand will help keep your garden and budget on track.
Know Your Zone
To make sure you choose plants that will grow in your area, you’ll need to know your gardening zone.
It is based on how cold your winters are, how hot your summers are, how long the growing season is and what the frost dates are for your area. This determines what kinds of plants will survive in your perennial garden.
Find out more information about this and other tips for picking the right plants HERE.
Trees and Shrubs
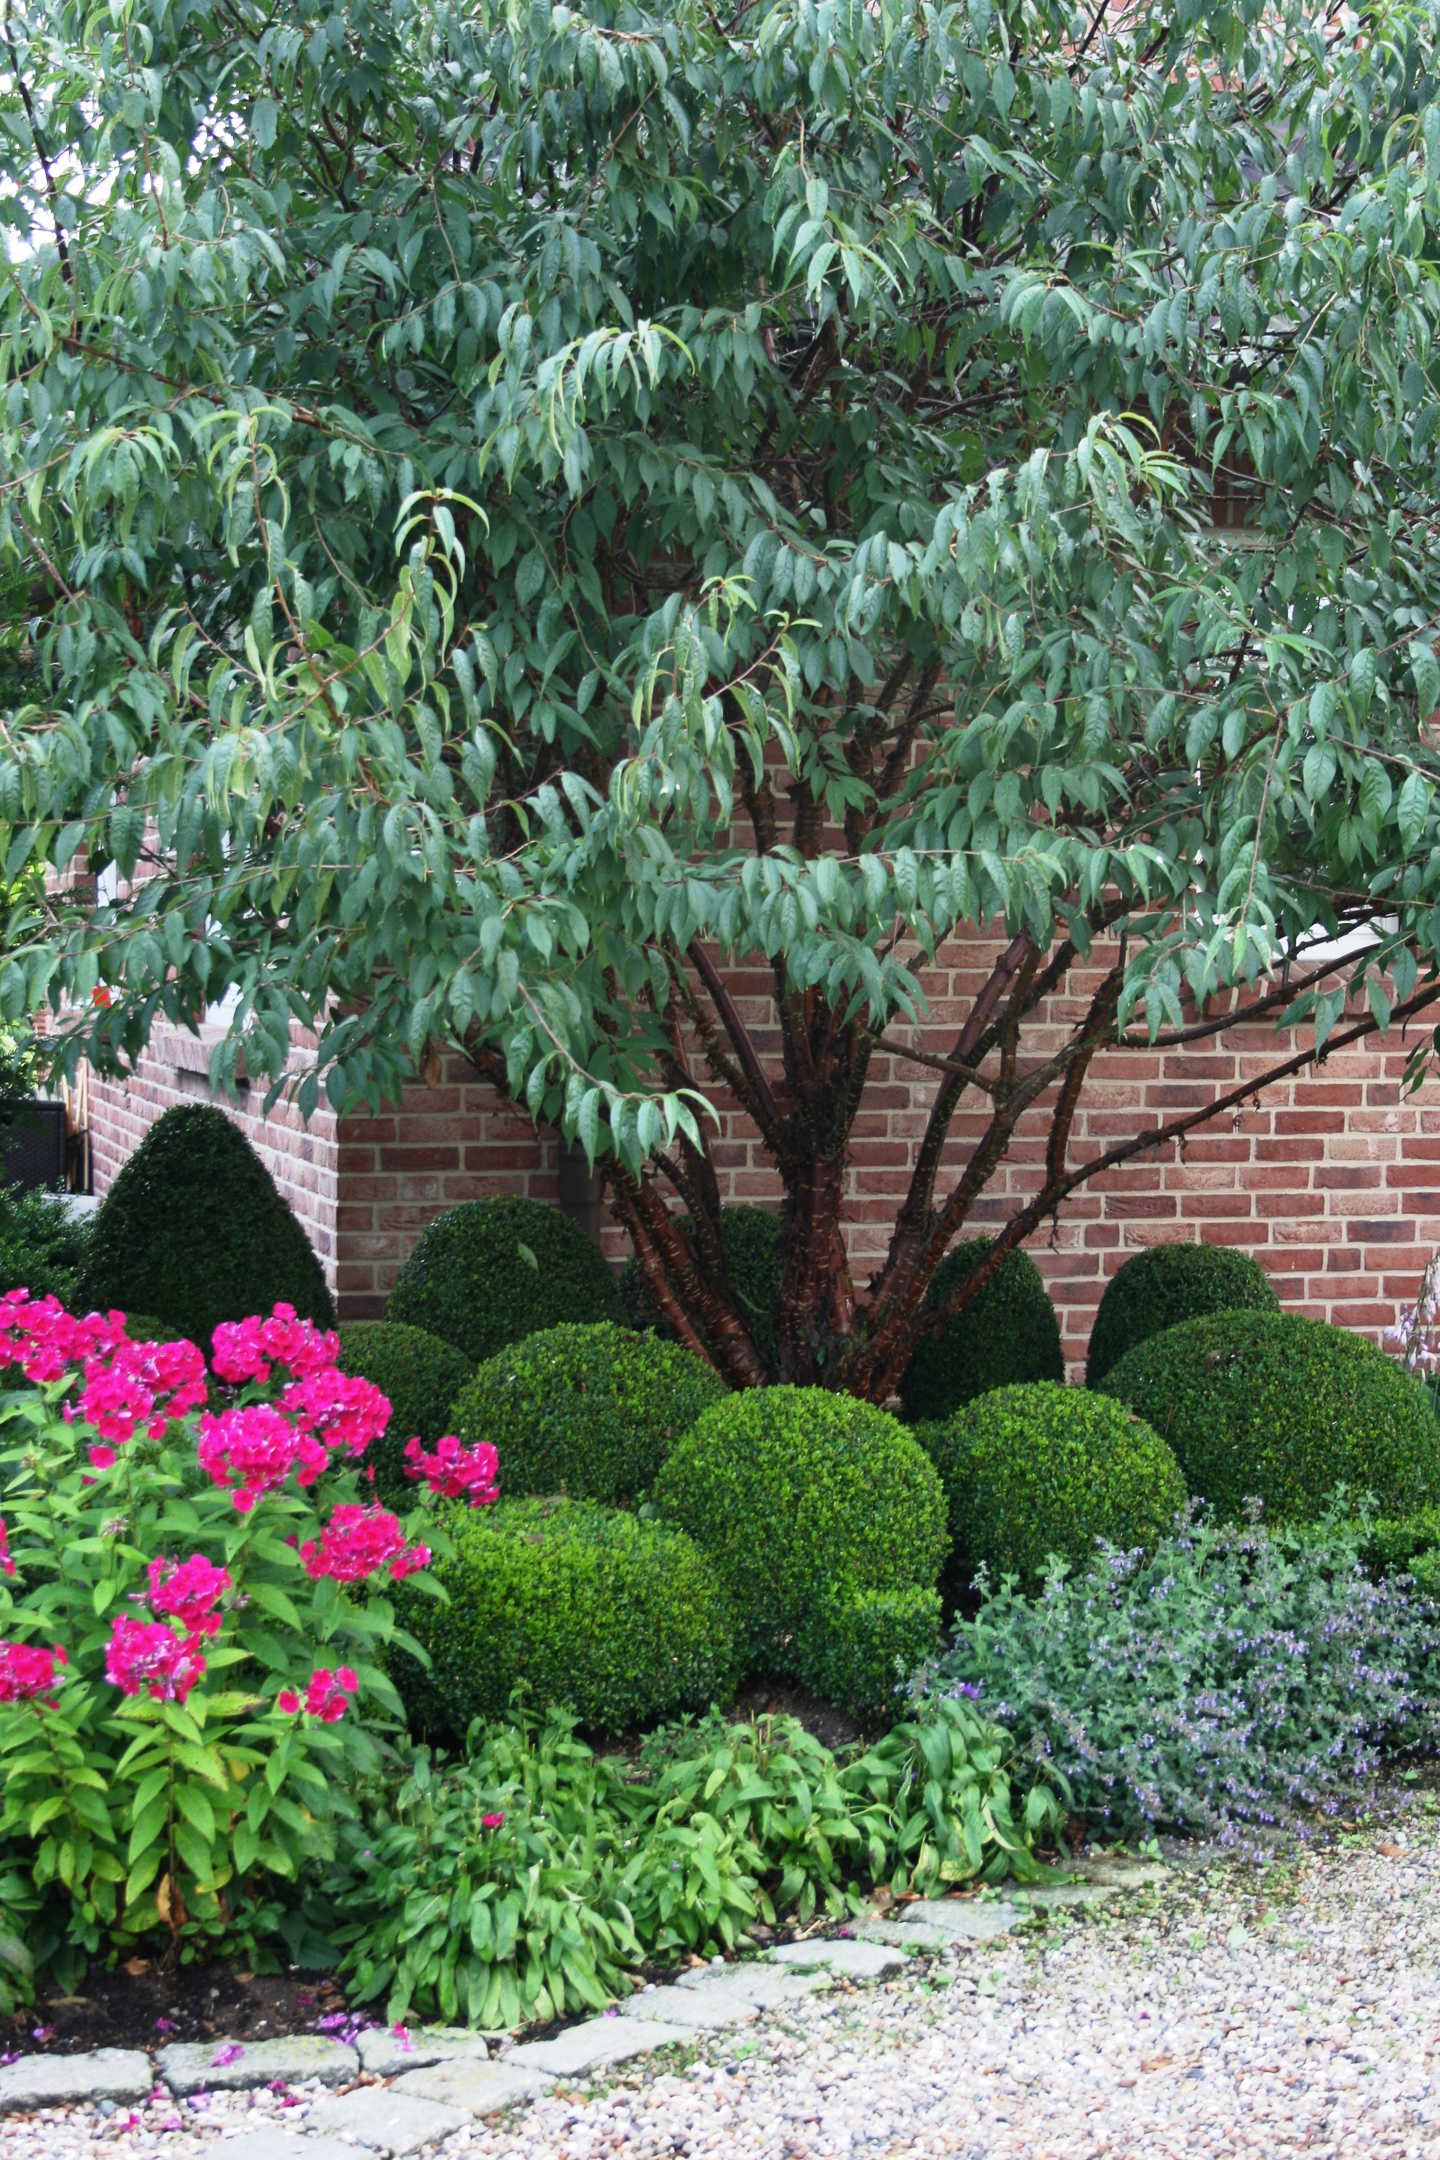
First, pick out the backbone of your garden beds which are small trees and shrubs.
They will help to add some structure and height to your garden.
Plus, having variety takes your bed from a simple garden to one with dimension.
Many people often associated shrubs with greenery, but there are also a ton of shrubs that have striking features and gorgeous blooms.
Find some tree and shrub ideas HERE.
Perennials
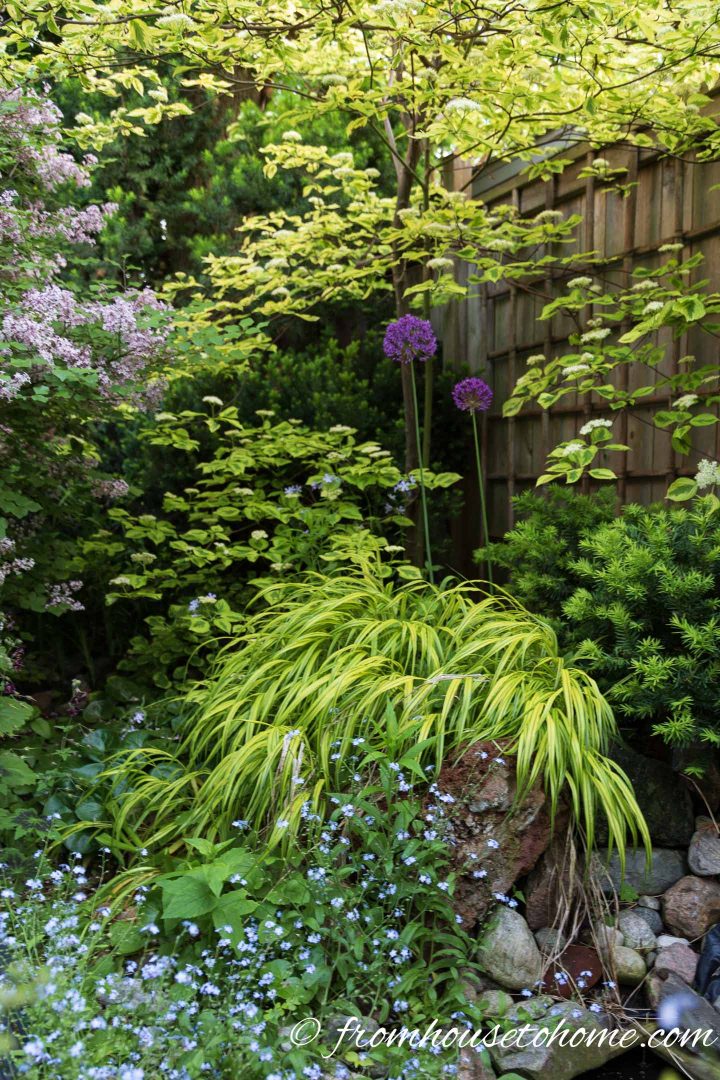
After the shrubs come the perennials.
Unlike annuals, perennials will come back year after year, growing in size and beauty. Knowing you can always count on a plant to flower brings you a ton of joy when waiting for the gardening season to begin.
While they may cost more than annuals in their first year, they save you so much money (and effort) in the long run.
Get some perennial plant suggestions HERE.
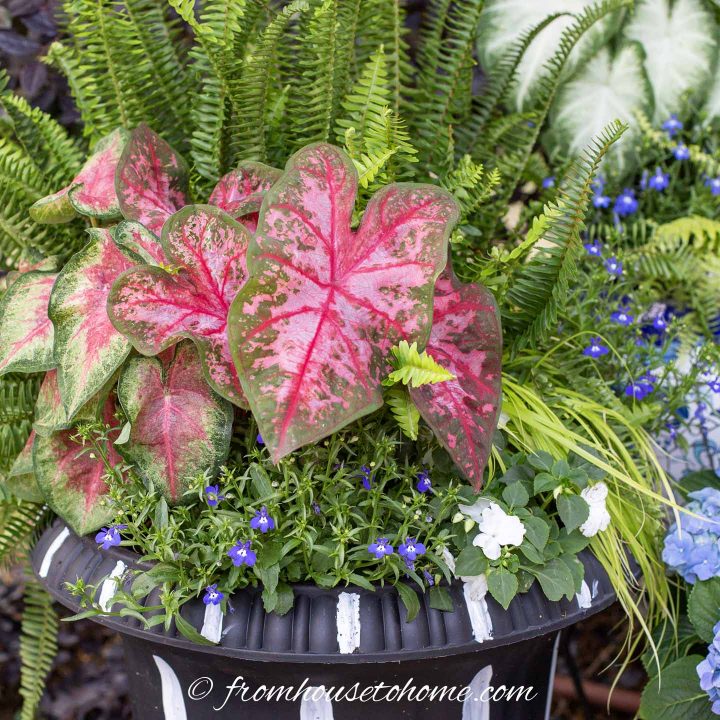
Plant Your Annuals
Your first trip to the garden center, you grabbed your shrubs and perennials.
Once you have them planted, you get to fill in all the gaps with annuals.
Annual flowers usually bloom all summer, but will die off over the winter so you will need to be buy and plant new ones every year.
Once again, look for variety for your annuals. Choose different heights, shapes, and colors. Choose tiny blooms, big blooms, and clusters. You get the idea!
Before I plant any of my annuals, I lay all of them out first in their pots. Start with the tallest, largest annuals and place them in front of the larger perennials and shrubs.
Next, begin to fill in the spaces between the tall annuals and work your way forward in height. This way, all the flowers will get seen and none of them will overshadow others as they grow.
Avoid planting in lines and try to space out the plants as evenly as possible. Once it all looks good, plant one by one where you placed the pot.
Plan for Every Season
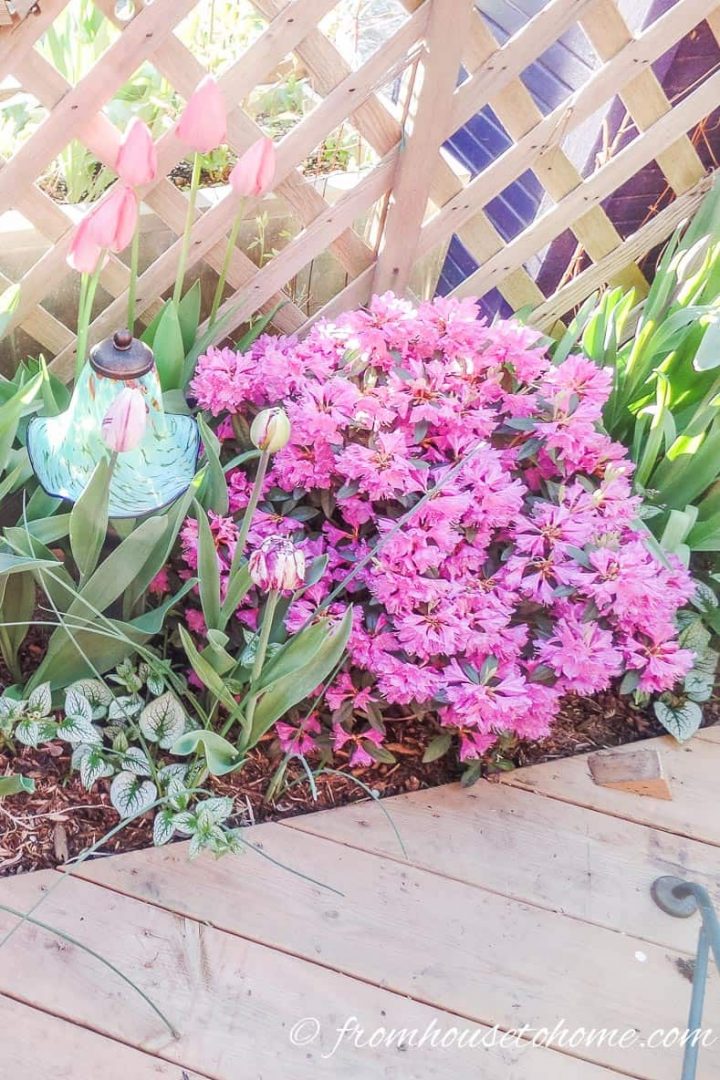
Yes, summer may have most of the fun when it comes to flowers, but there can be a little bit of garden magic all year round. So try to choose plants with different blooming times.
Some plants, such as witch hazel or camellia, actually look their best during the colder months. Plant them now and you’ll be happy come the dreary, cold weather.
On the other side, you can also plant bulbs in the fall to enjoy in the spring. Spotting one of your emerging spring bulbs is an amazing feeling for the beginner flower gardener.
Get some inspiration from this four-season garden.
How to Care for Your New Flower Garden
Congratulations, you have a flower bed! Now, it is time to keep your flowers happy and healthy.
Set Up an Automated Watering System
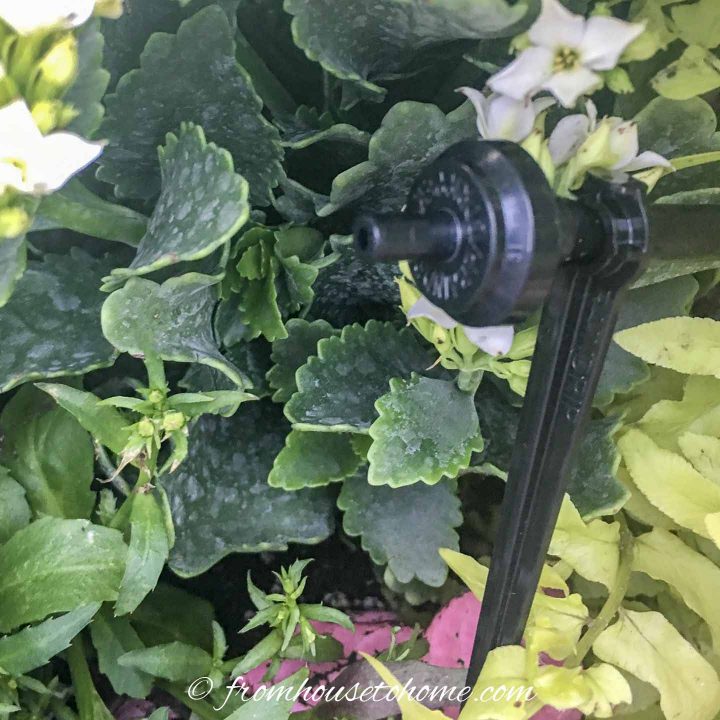
Setting up an automated watering system is the easiest way to ensure your plants are getting enough water regularly.
Plus, when you head out on vacation, you can come home knowing your flower garden will be standing tall to greet you. This can be one of the most vital steps for starting a flower garden.
While underground irrigation is lovely, most gardeners don’t have the budget or don’t want to rip up their existing garden to install it.
Drip irrigation is an ideal alternative. It is inexpensive and fairly easy to set up.
And because it is more efficient, it uses less water to save you money on your hydro bill.
Combined with an automatic timer, you will never forget to water your flower garden ever again.
Purchasing an outdoor watering kit is the easiest way to go.
Included in it are water emitters to drip the water into the plants, some drip hose, stakes, tee connectors, and a hose adapter. You may want to include a water timer and water pressure regulator, as well as additional water emitters, drip hose, and tee connectors depending on the size of your garden.
For more details on how to set up an automated watering system, follow my instructions here.
Mulch Your Flower Bed
Mulching in the spring will bring you the most benefits.
Mulch helps to control weeds, keep moisture in, insulate plants from cold weather, add nutrients to the soil, and of course, adds a visual appeal when you’re looking for something other than dirt to line your flower bed with.
After you finish your spring planting, level any raised soil.
Place small mounds of the mulch in your bed. Do not place large heaps of mulch in one area as it will make it more difficult to evenly disperse and will result in too much mulch in certain areas.
Use your hands or a rake to smooth out the mulch anywhere from 2-4 inches tall.
When mulching, always ensure there is space between the trunk of a tree or the stem of perennials and shrubs.
This helps the plant to breathe and get enough water circulation.
Over time, your mulch will fade and decompose and will need to be replaced.
Refresh your mulch annually to keep your flower bed fresh.
When selecting your mulch, remember that dyed mulch can stain walkways and other stonework.
Shredded mulch is the most common selection as it is easy to use and creates a nice, uniform look once spread.
Fertilize Your Flowers
When you learn how to start a flower garden, you’ll undoubtedly need to tackle fertilizer.
To produce colorful and healthy-looking flowers, your soil will need some extra nutrients.
Fertilizer helps to provide nitrogen, phosphorus, and potassium. These nutrients help to maintain a healthy plant and not all soil will have a good mix of each.
While each plant enjoys their own specific mix of fertilizer, most gardens can get away with a balanced blend.
Look for a fertilizer label with 10-10-10 on it, indicating there are even amounts of nitrogen, phosphorus, and potassium.
However, to encourage more flower blooms, you can find a flowering specific fertilizer which will contain more phosphorus (the second number).
Liquid vs Granular Fertilizer
You can find fertilizer in both granular and liquid form.
Granular fertilizers slowly release the fertilizer and should be used once a year in the spring or when you are first planting.
Liquid fertilizer can be applied more regularly during the growing season.
When to Fertilize Your Flower Garden
Begin fertilizing in the late spring at half the strength of the liquid fertilizer. Slowly ramp up to full strength for the summer.
Continue to fertilize once a week or monthly depending on the plant.
Once it begins to cool in fall, gradually wean your flowers off of the fertilizer. In the winter, the plants are dormant and won’t need any.
And there you have it!
By following these steps, you should know all about how to start a flower garden. Every year, your flower garden will return in the spring and be more beautiful than ever.
Do you have a favorite flower to include in your flower garden? Let me know in the comments down below!
Other Gardening Ideas You Might Like
- How to organize your garden tools
- The best gardening apps every gardener needs to know
- How to create a low maintenance garden
Have comments or question on how to start a flower garden? Tell us in the section below.
Pin It So You Don't Forget It!
This post was originally published on March 7, 2021 but was updated with new content on September 15, 2022.
I have quite a few areas that are under trees/very shady. Is there a short grassy, lily type bulb that will naturalize to fill in these areas between rhodies, azaleas and hydrangeas?
Hi Val…sorry for the late reply. I somehow missed your question. These aren’t really lily type bulbs, but will naturalize and grow in the shade: You can try Snowdrops, Scilla, Chinodoxa, Leucojum or Lily of the Valley. (Many of them will go dormant in the summer so that may not be what you want). Liriope is another option. It isn’t a bulb but is grassy and will grow in those conditions.