
How To Plant A Hanging Basket
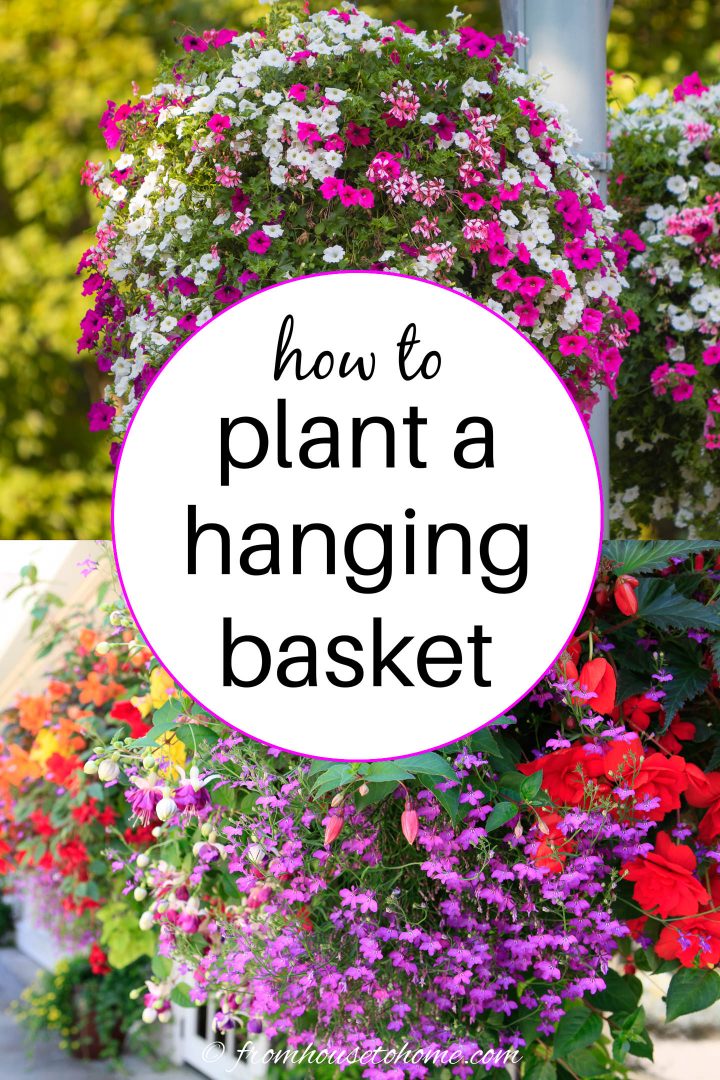
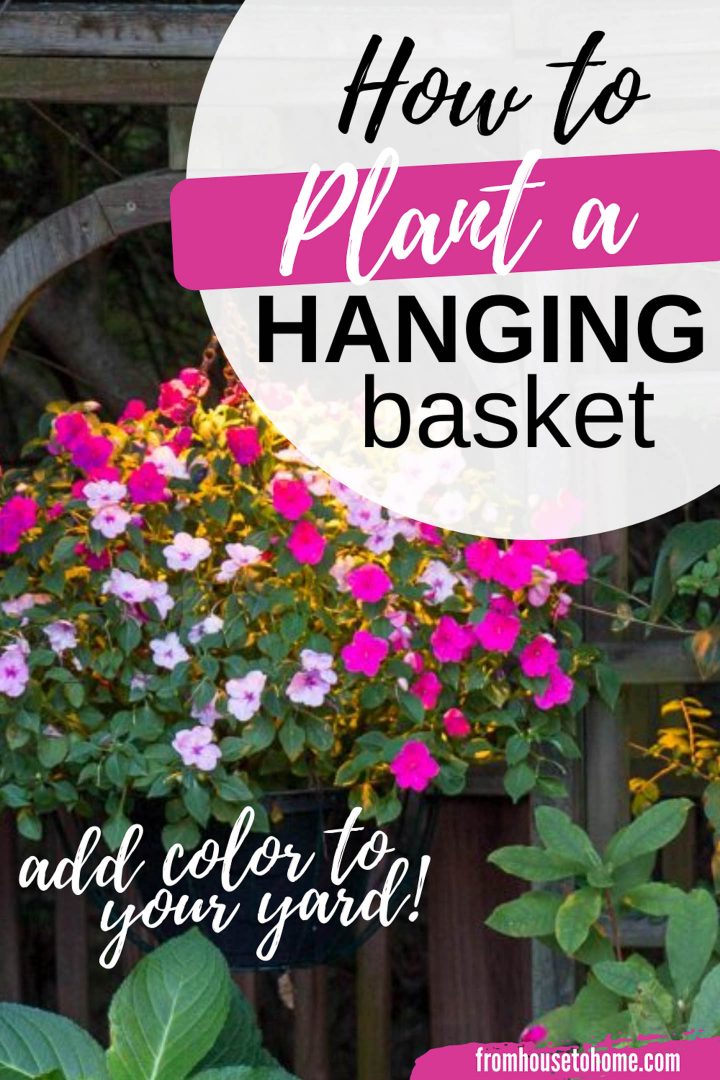
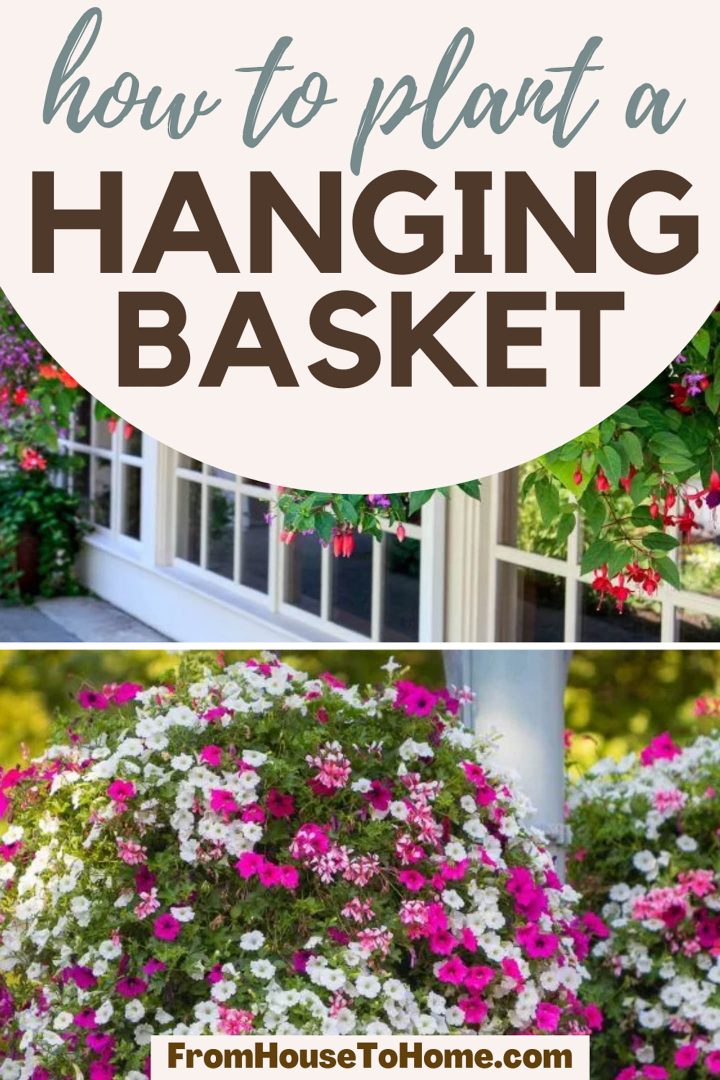
Hanging baskets are a great way to add color to your yard. Learn the tips and tricks of how to plant a hanging basket that will look gorgeous for the whole growing season.
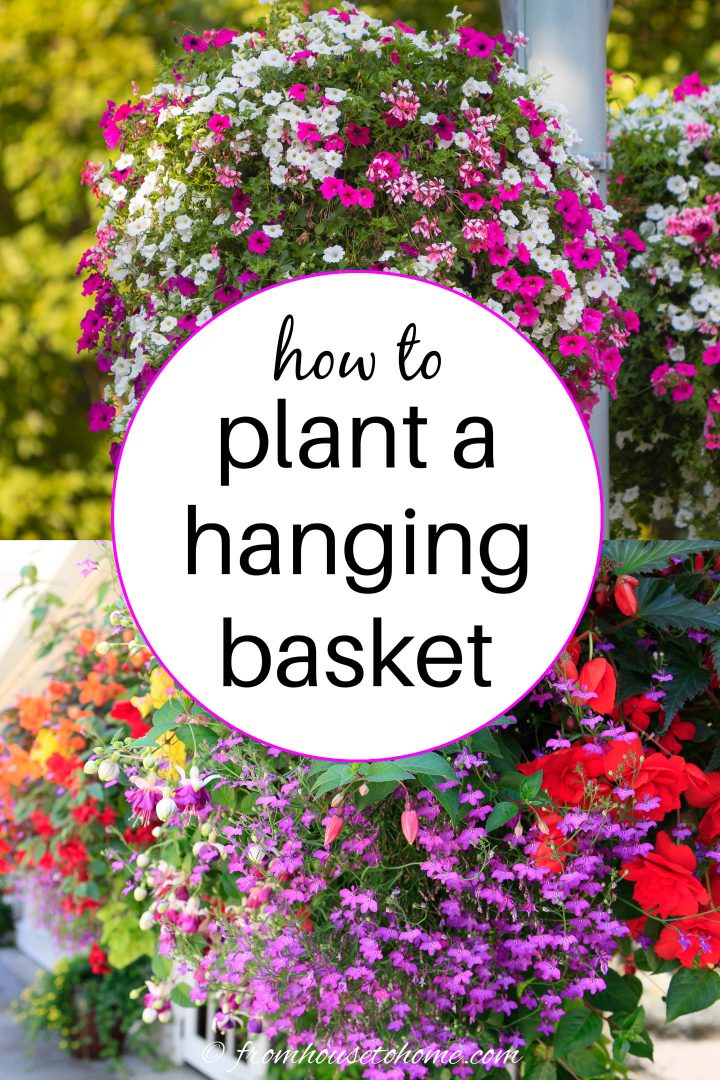
Hanging baskets are an easy way to add a lot of color without taking up any garden space.
If you’ve never planted one before, it’s actually pretty simple once you know the order to do things in.
This step-by-step guide shows you how to plant a hanging basket in a way that even beginners can follow.
I’ll walk you through the entire process, including one small but important step that really helps keep the basket from drying out too quickly.
Supplies
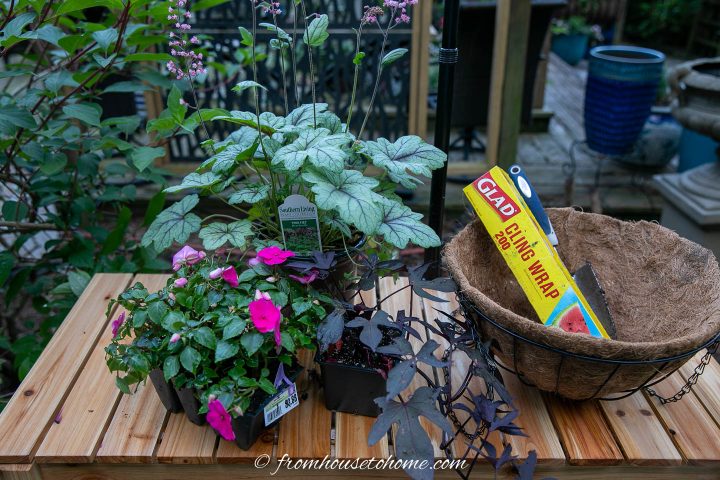
Here’s what you’re going to need:
- the plants – for the best results, make sure all the plants that are going in the same container like the same growing conditions (sun/shade, wet/dry, acidic/alkaline soil). Otherwise, you’ll run into problems keeping some of them healthy.
- a hanging basket with a liner – to keep the plants from drying out too quickly, the container should be at least 14″ across.
- plastic wrap
- potting soil mix* – use the type that is meant for containers (not garden soil). It usually contains slow-release fertilizer, a wetting agent for moisture control and is lighter (so the basket is easier to hang).
- a hand shovel
How many plants do you need?
I almost always use an odd number of plants, especially if I’m doing a mixed planter.
But the exact number of plants you need depends on how big they are when you plant them and how quickly you want your planter to fill in.
Here are my rules of thumb:
- Three 4″ to 6″ plants are enough for a 14″ planter. It might look a little bare at first, but they will fill out quickly.
- Five will fit if you want to get a fuller look right away. However, the cost of the extra plants will add up quickly if you have to do a few containers.
- Using multiple smaller plants rather than a couple of big ones often results in a more evenly-filled container.
- To create the fully-covered ball look, you’ll need smaller plants to put in the sides of the container.
What type of hanging basket is best?
I prefer to use wire baskets with a coconut liner over plastic pots.
They look better and they allow the plant roots to breathe better. Which I think results in healthier plants with bigger flowers that last longer.
It’s easiest to line the basket with coco or coir liners that are already shaped to fit for your planter.
But if that’s not possible, you can buy a roll (which you can find HERE* on Amazon) and cut it to size.
The coconut fiber liner can be a little stiff. So letting it sit out in the sun for a couple hours before putting it in the basket will make it a little easier to work with.
How to plant a hanging basket
1 | Line the bottom with plastic wrap
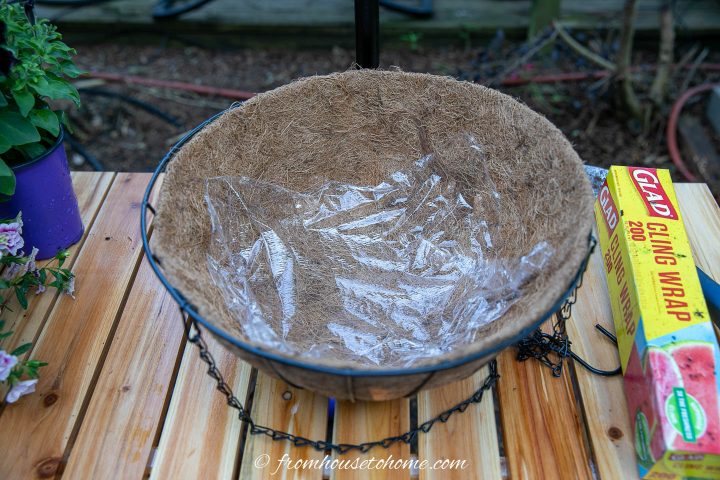
To hold moisture in the planter as long as possible, I line the bottom of the coconut liner with a piece of plastic wrap.
This is the secret to keeping the baskets from drying out as fast.
The plastic liner helps to keep some of the water in the bottom of the planter so the soil stays wetter longer.
2 | Fill the basket half way with potting soil
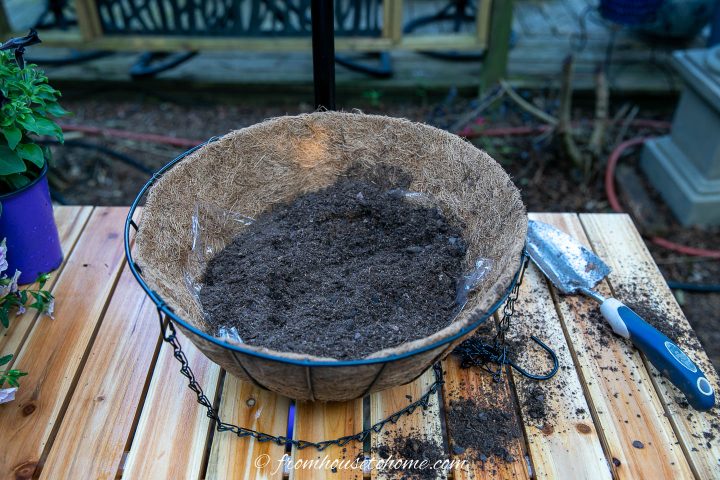
Next, you want to fill the hanging basket about half full with potting soil.
Make sure that you use the type of soil meant for containers.
It’s lighter than regular garden soil and usually contains slow-release fertilizer as well as peat moss to help keep it wet longer.
3 | (Optional) Make holes in the sides
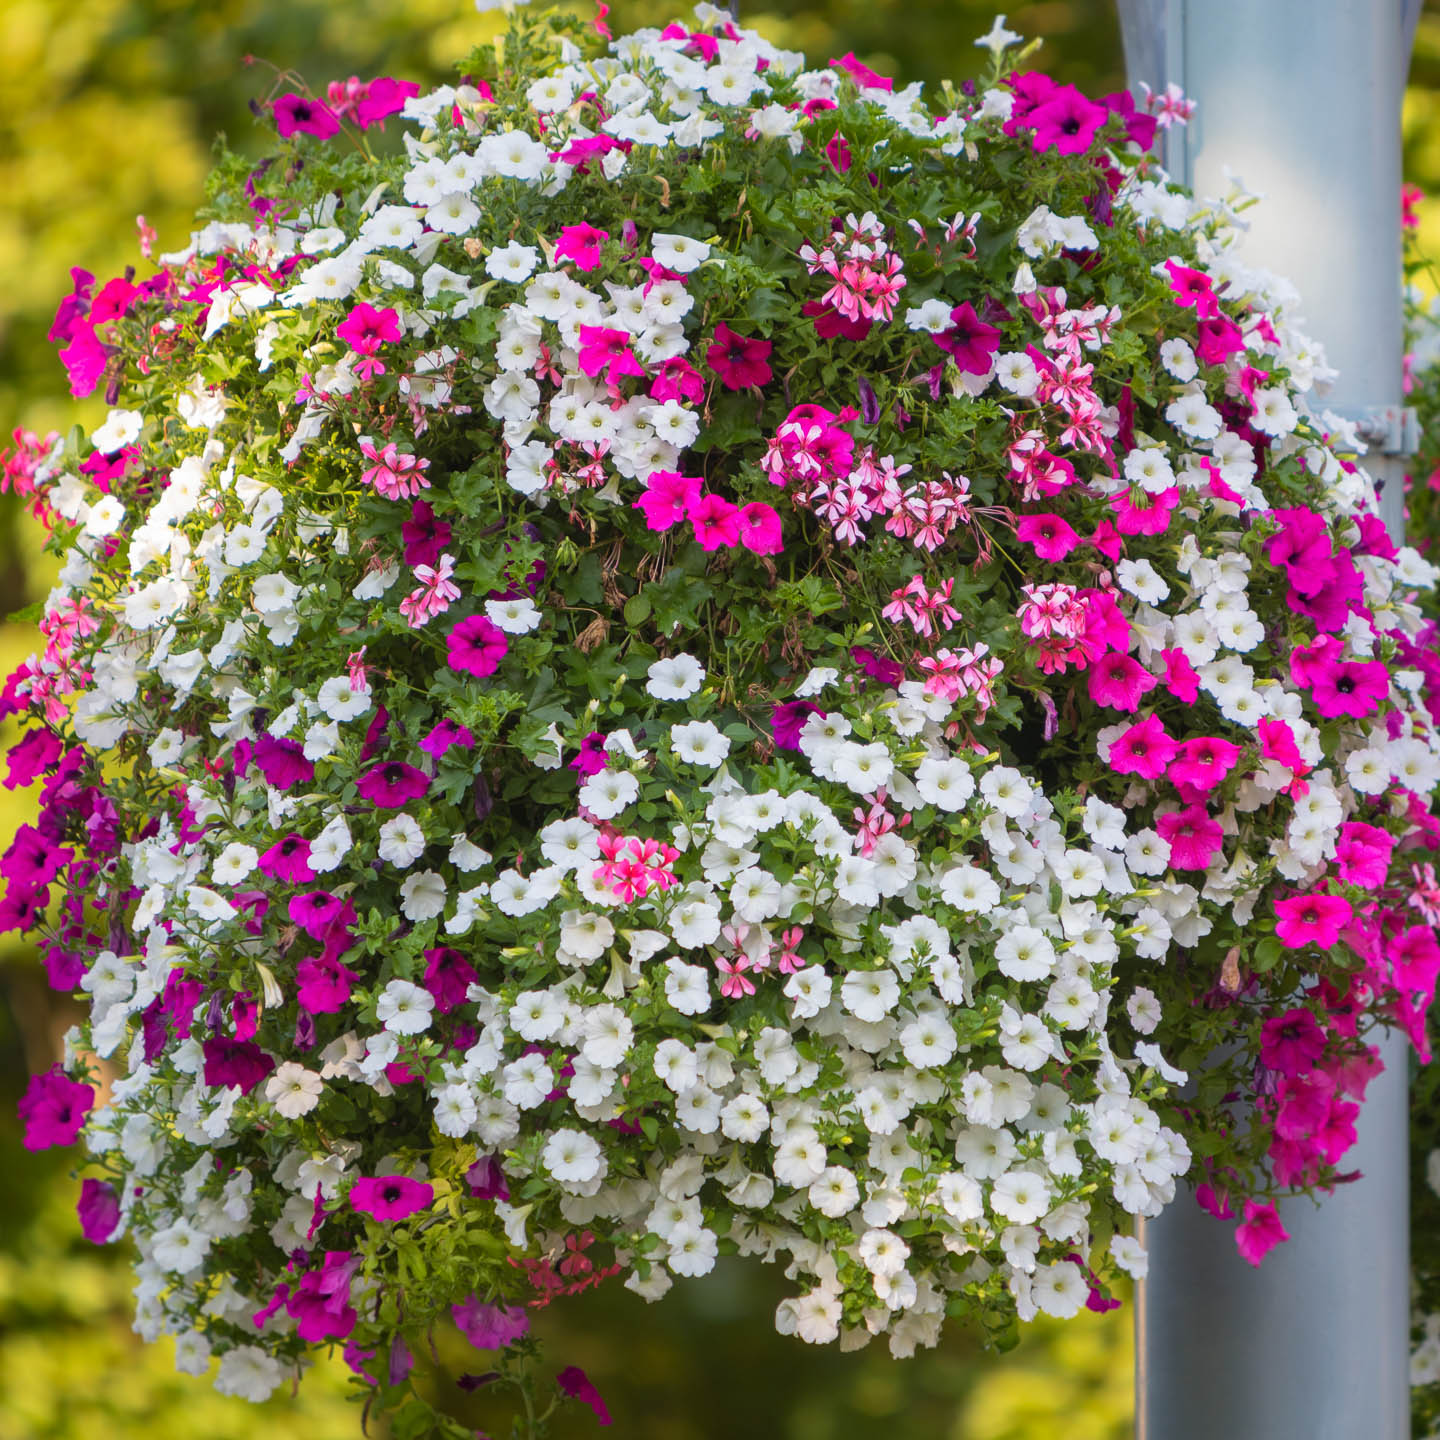
If you want your hanging basket to have flowers all the way around like this one, you’ll need to have some plants coming out the from the sides of the liner.
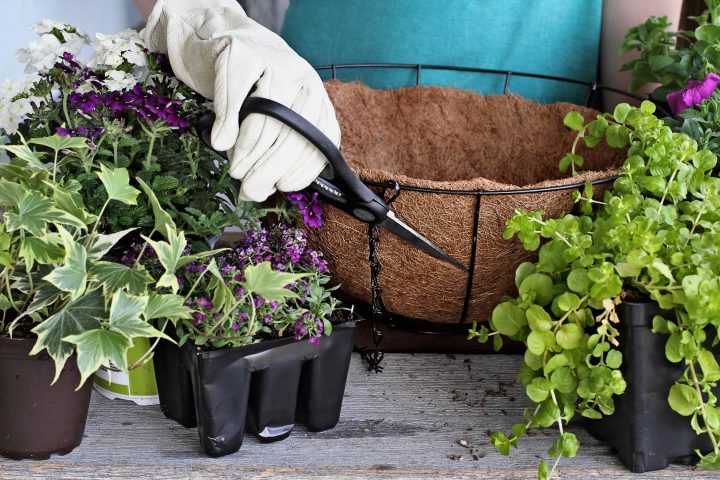
To do this, use a sharp pair of scissors or a utility knife to cut some holes that are big enough to fit the root ball through.
Using smaller plants, like the ones that come in 6 or 12 packs makes planting them much easier.
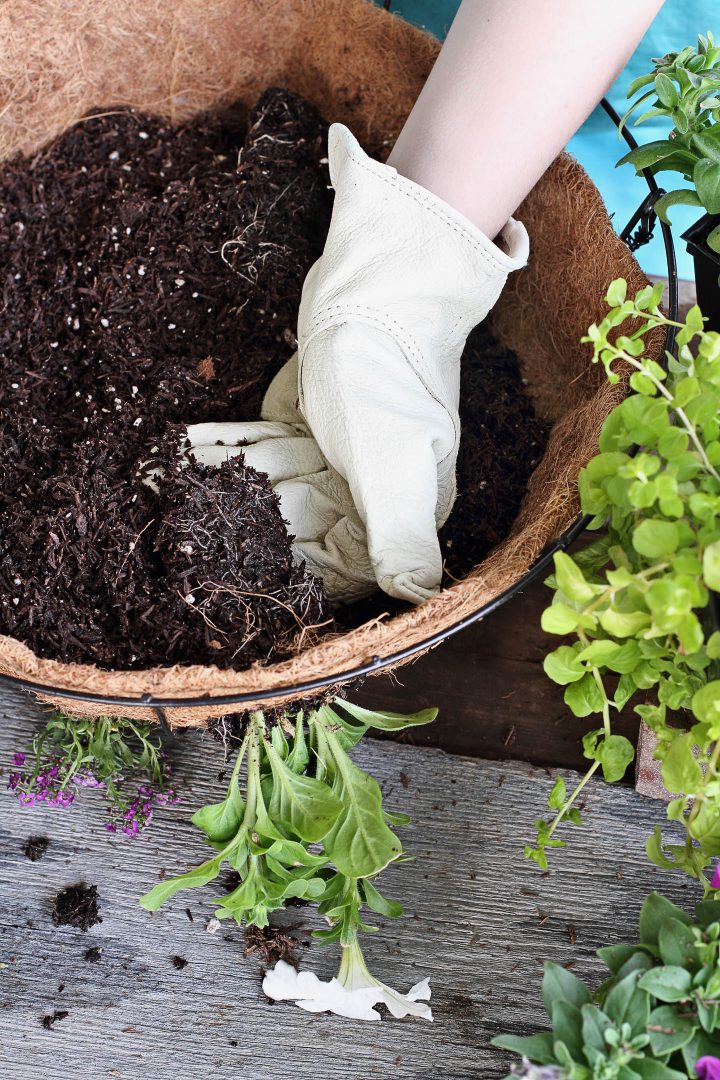
Then stick the plants through the holes from the outside.
Don’t worry if you have to squish the roots to get them through. It won’t hurt them (roots are tougher than you think).
4 | Arrange your plants
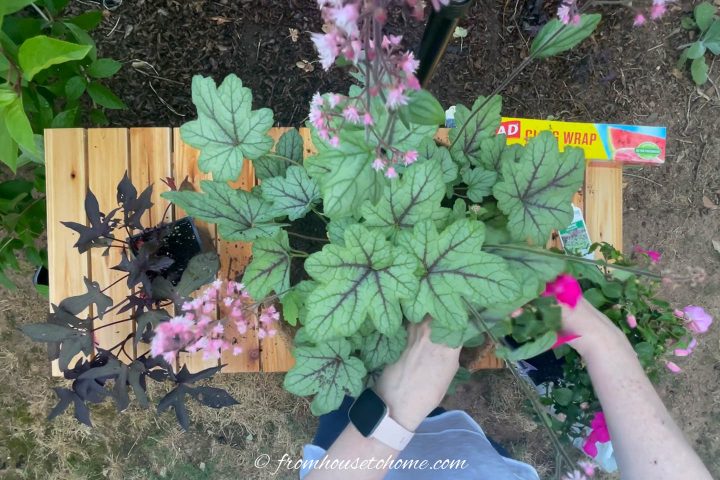
Now you’re ready to arrange the plants at the top of the planter.
Put the largest plant(s) in first. If you’re doing a mixed planter, this is usually the upright one.
It should go in the middle if the basket will be viewed from all sides. Or the back of if you’ll only be looking at it from one side.
Then add the mounding plants. These should surround the upright plant.
And finally plant the trailing flowers. These should be positioned close to the edge of the planter.
If you’re only using 3 plants, they should be planted in a triangle with the trailing plant at the front corner, and the other two plants staggered behind it.
5 | Loosen the root ball
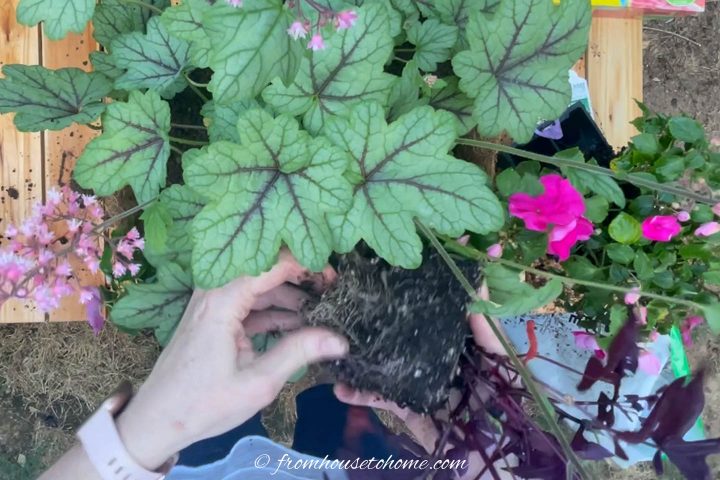
Once you have the plants positioned the way you want them, pull the root ball apart at the bottom for each one of them.
This will help the roots to grow into the potting soil resulting in bigger, healthier plants.
And is especially important if the plants have been sitting in their pots for a while and are root bound.
Take a look at the plant placement to make sure you like it before continuing.
6 | Fill in with more potting soil
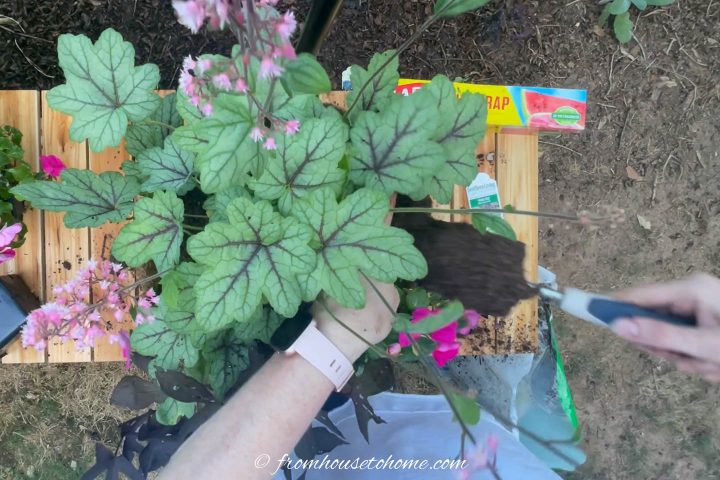
Now we’ll fill up the rest of the basket with potting soil.
The soil level should be about half an inch lower than the top of the basket.
Make sure the original soil level on all of the plants is at the same height. You may need to put some extra potting soil under some of them to raise them up.
7 | Water well
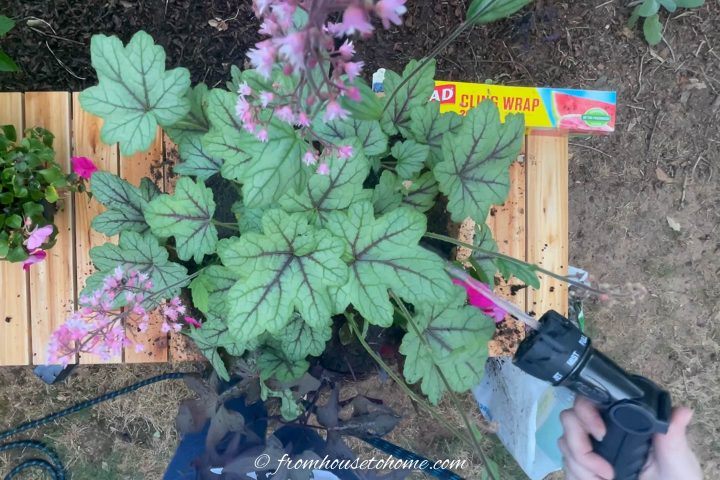
Next you’ll need to water the hanging basket well.
Potting soil usually contains peat moss, which is great for holding water but it needs to be thoroughly soaked to start. Otherwise, the water will just run right through.
So make sure to water the planter long enough for this to happen. The water should be running out the bottom.
8 | Hang the planter
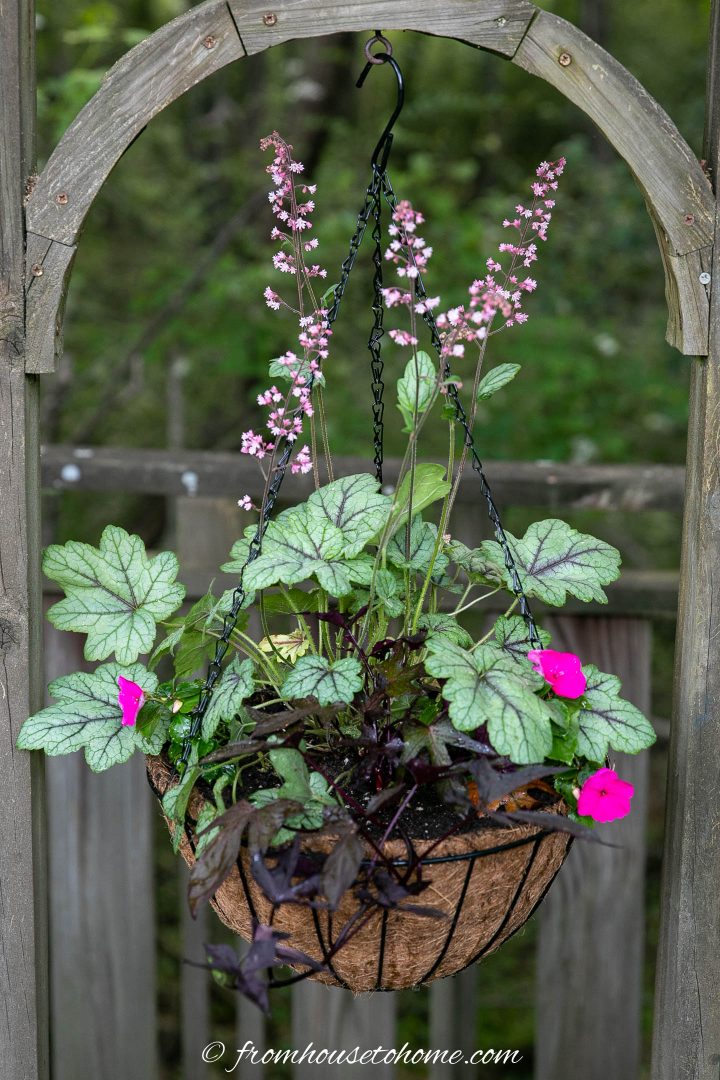
Now you’re ready to hang your planter.
If you are hanging them from a ceiling or pergola, eye hooks work well. The hook from the basket fits through easily and won’t blow out if there’s a strong wind.
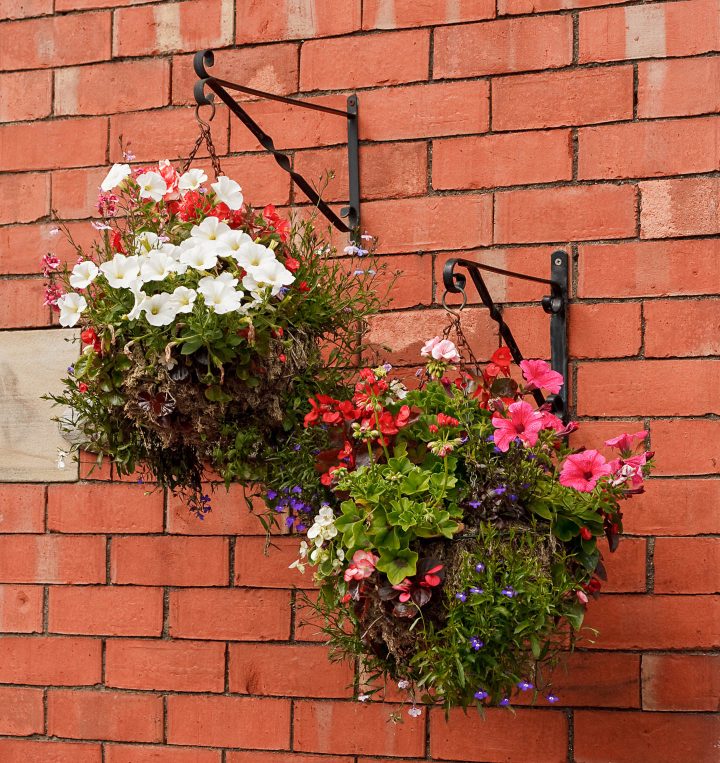
To hang them from a fence or wall, you’ll need a bracket that is longer than half the width of the basket.
And that’s it! You’re all set to enjoy your hanging baskets all summer long.

Frequently asked questions
How to make hanging baskets that look full?
To make mixed planters that look full, get at least one plant that is upright (like geraniums, heuchera, or petunias), one rounded plant (like impatiens, begonias, or pansies) and one trailing plant (like sweet potato vine, fuchsias, or calibrachoa). The combination of the three will prevent any empty spots.
Or plan to plant a sphere which requires putting plants in the sides of the basket liner as well as in the top of the basket. This will require more plants, but will give you that covered with flowers look faster.
What plants should I use?
Here are a few things to keep in mind when you’re picking out your plants:
- If you are planting mixed containers, make sure the plants you use all grow in the same conditions for both light and water. Otherwise, they won’t grow evenly and your basket will end up looking lopsided.
- If you want flowers all summer, buy annuals. Most perennials have much shorter bloom times.
- Consider adding some colorful foliage as well, which can keep your planters looking good if the flowering plants take a break.
- For hanging baskets that will be hung high, buy plants that don’t require deadheading. Otherwise, you’ll need to keep a ladder close by so you can pick off the spent blooms.
This post was originally published on May 27, 2021 but was updated with new content on February 20, 2026.
Thanks Wanda for the hanging basket info. I realise I haven’t fertilised mine often enough. Speaking of fertiliser, I have used Miracle-Gro (you mention this is what you have used) for over 25 years and have always found it excellent. However two years ago it went off the shelves here in New South Wales. I Googled every nursery I could find and no luck. Do you have any idea if it is going to be reintroduced back into Australia.
Hi Pauline…I didn’t know they had stopped selling Miracle-Gro in Australia. I was able to find it on Amazon.com in Australia so I would look there to see if you can order it.
Thank you Wanda. I did as you suggested and got really excited when I thought I’d be able to buy Miracle Gro again. However, the site won’t send to Australia. I’ll just have to continue using Thrive which I’ve started using in place of Miracle Gro. Maybe it will become available at another time. Good gardening
Oh no! Sorry about that. I was hoping it would work out for you.
Thanks anyway Wanda. Today I’m buying Lobelia, purple, to plant down the back which is in the shade area of my garden. Winter has really hit here. Yesterday it didn’t get over 11 degrees so nothing was done outside. We don’t get snow here but two hours away it was falling. Love reading your articles. Thank you for all your advice and help.
Thank you ,you’ve given me hope .I’ll try again next spring .Gardening in Texas is tuff .I was about to buy more fake hanging plants,which look terrible .I do have trouble with my chickens trying to lay eggs in the baskets ,which they destroy instantly .I tried putting wooden skewers in the basket to deter them,I know it sounds mean,but I can’t think of another way.If you have an idea ,let me know, other than getting rid of the chickens!
Hi Lise…I don’t have any other ideas for keeping chickens out of your baskets, but the skewers sound like they would work 🙂
Absolutely amazing baskets 😀 now I know how to do them properly and what plants to use together. Living in Scotland can be tricky with the weather, we certainly don’t need to water them every day!
Thank you Wanda 😊
Angie
Thanks, Angie! I’m happy you found it helpful. You’re lucky you don’t have to worry about watering them so much 🙂
Thank you for the step by step guide for the planter irrigation system. That was a lot of work!! I need to install for two large pots at our front entryway but keep thinking about seeing all the mini hoses along the ground. I’ll keep thinking! Thank you again Wanda!!
PS- for fertilizer try Jack’s Classic- you’ll never use Miracle Grow again!!
Thanks for the tip, Bonnie. I will look for Jack’s Classic!
Your article was very informative. Can’t wait to plant some haning baskets. I love the plant/cand elabra you shown in your open air gazebo. Where did you find that?
Thanks, Jane! The candelabra came from Home Sense a few years ago. Unfortunately, I haven’t seen one anywhere since.
Instead of using plastic wrap in my hanging baskets I use Poise Plus extra absorbent
pads (from Costco) in the bottom of my baskets. I put them in the basket after soaking them in water and cover them with my potting soil. They really hold a lot of water. Seems to be working well.
That sounds like a great idea, Dee! Thanks for sharing!
Hi Wanda – your baskets are so pretty.
What is the large plant you used in the basket you assembled here?
Thanks,
Sheila
Thanks, Sheila! The large plant is Coral Bells (Heuchera). It’s a perennial but I like to use them in baskets then plant them in the garden at the end of the summer.
Questions about water soluble miracle grow. How to?
Hi Joan…For a small number of containers, I mix a tablespoon or two of the water soluble Miracle Grow into a watering can full of water. Or you can buy it as an attachment to your hose so everything you water will be fertilized (which is easier if you have a lot of containers to water).
Thank you Wanda for all your great tips.
I recently moved to Sacramento, CA which has very hot (100+) summers. Any suggestions for hanging baskets?
Hi Lorraine…sorry for the late response. That’s a tough one since the baskets dry out so quickly! You can try Calibrachoa (Million Bells), trailing Verbena, Lantana, and the newer varieties of Petunias like Wave or Supertunias. I would also install a planter watering system if you don’t have one, and plant in large-size baskets (16″ across or wider) which will help keep the soil wet longer. Hope that helps!