How To Make An Evergreen Winter Planter
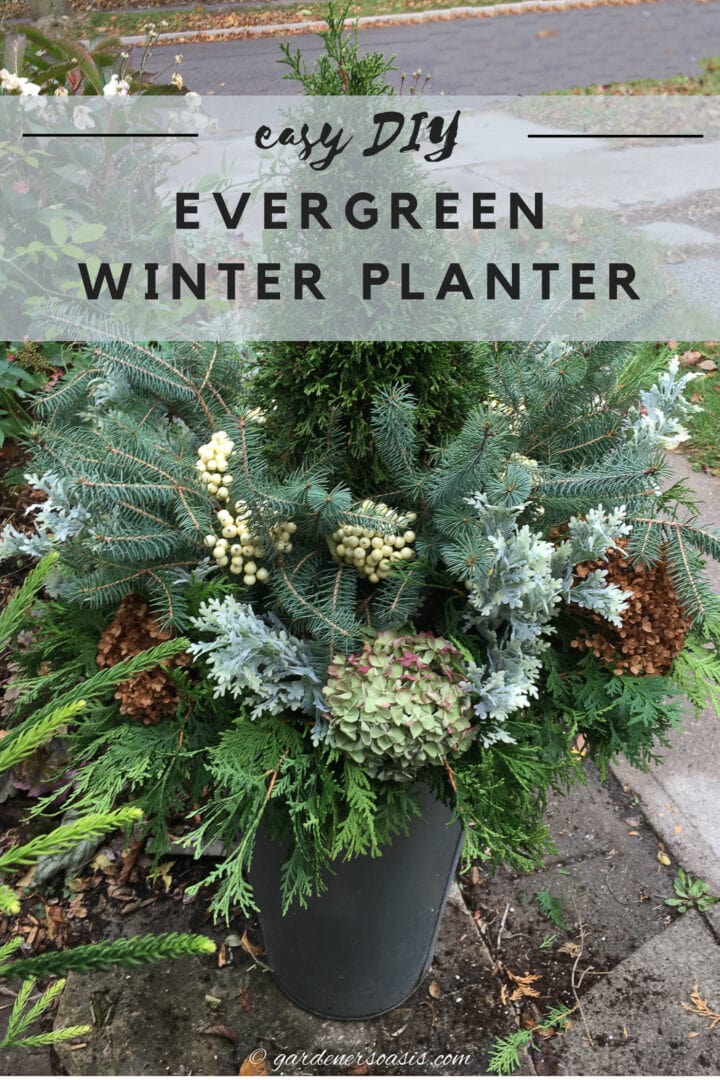
This outdoor DIY evergreen winter planter is a charming and easy way to bring a touch of nature’s beauty to your home during the colder months. It’s a fun and simple project that’ll brighten up your front porch with its fresh, green look.

As the snow begins to fly here in my Zone 5 garden, my thoughts turn to how to accent the front door for winter.
In my mind this means a large outdoor pot filled with evergreens and subtle accents that say welcome to my home.
I collect as much as possible from the garden itself, purchase some faux picks, and this year I will use a real small evergreen as the center.
This is an easy, fun project that looks festive for the holidays.
But isn’t too Christmas-y so I can leave it up all winter.
Here are the steps I took to make my evergreen winter planter.
Supplies
- Large weather proof container, at least 18″ in diameter. I used a tall container similar to this one* from Amazon. But you could also use an urn or anything that will hold up to the elements. If you live in an area that freezes, ceramic planters are not a good idea since they will crack and break.
- Plastic container or floral foam (optional) – To minimize the amount of soil needed to fill the container, I added a plastic container in the bottom of it. This is optional if your planter is shorter.
- Planter soil – This soil is lighter and easier to work with than regular garden soil.
- 4″ to 5″ wide strips of heavy cardboard – I used the side of a thick box.
What to include in the winter planter
- Small evergreen tree – I bought an Emerald cedar, but any narrow evergreen tree that is about 3 feet tall will work. Note: To successfully overwinter a live plant in a container be sure it is 2 zones hardier than where you are, e.g. I am zone 5, so need a container plant that is hardy to zone 3.
- Cedar and spruce evergreen branches – The easiest way to get these is to cut them from your garden. But you might be able to get some for free from a local Christmas tree seller. Or buy them from Costco, Home Depot or Lowes.
- Picks – 8 faux white berry picks*, 8 faux dusty miller picks*.
- Dried hydrangea blooms – I used some from the garden.
- White string lights (optional) – I don’t have easy access to an electrical outlet at the front door so I used these battery-operated LED lights with a timer*.
How to make the winter planter
1 | Plant the evergreen
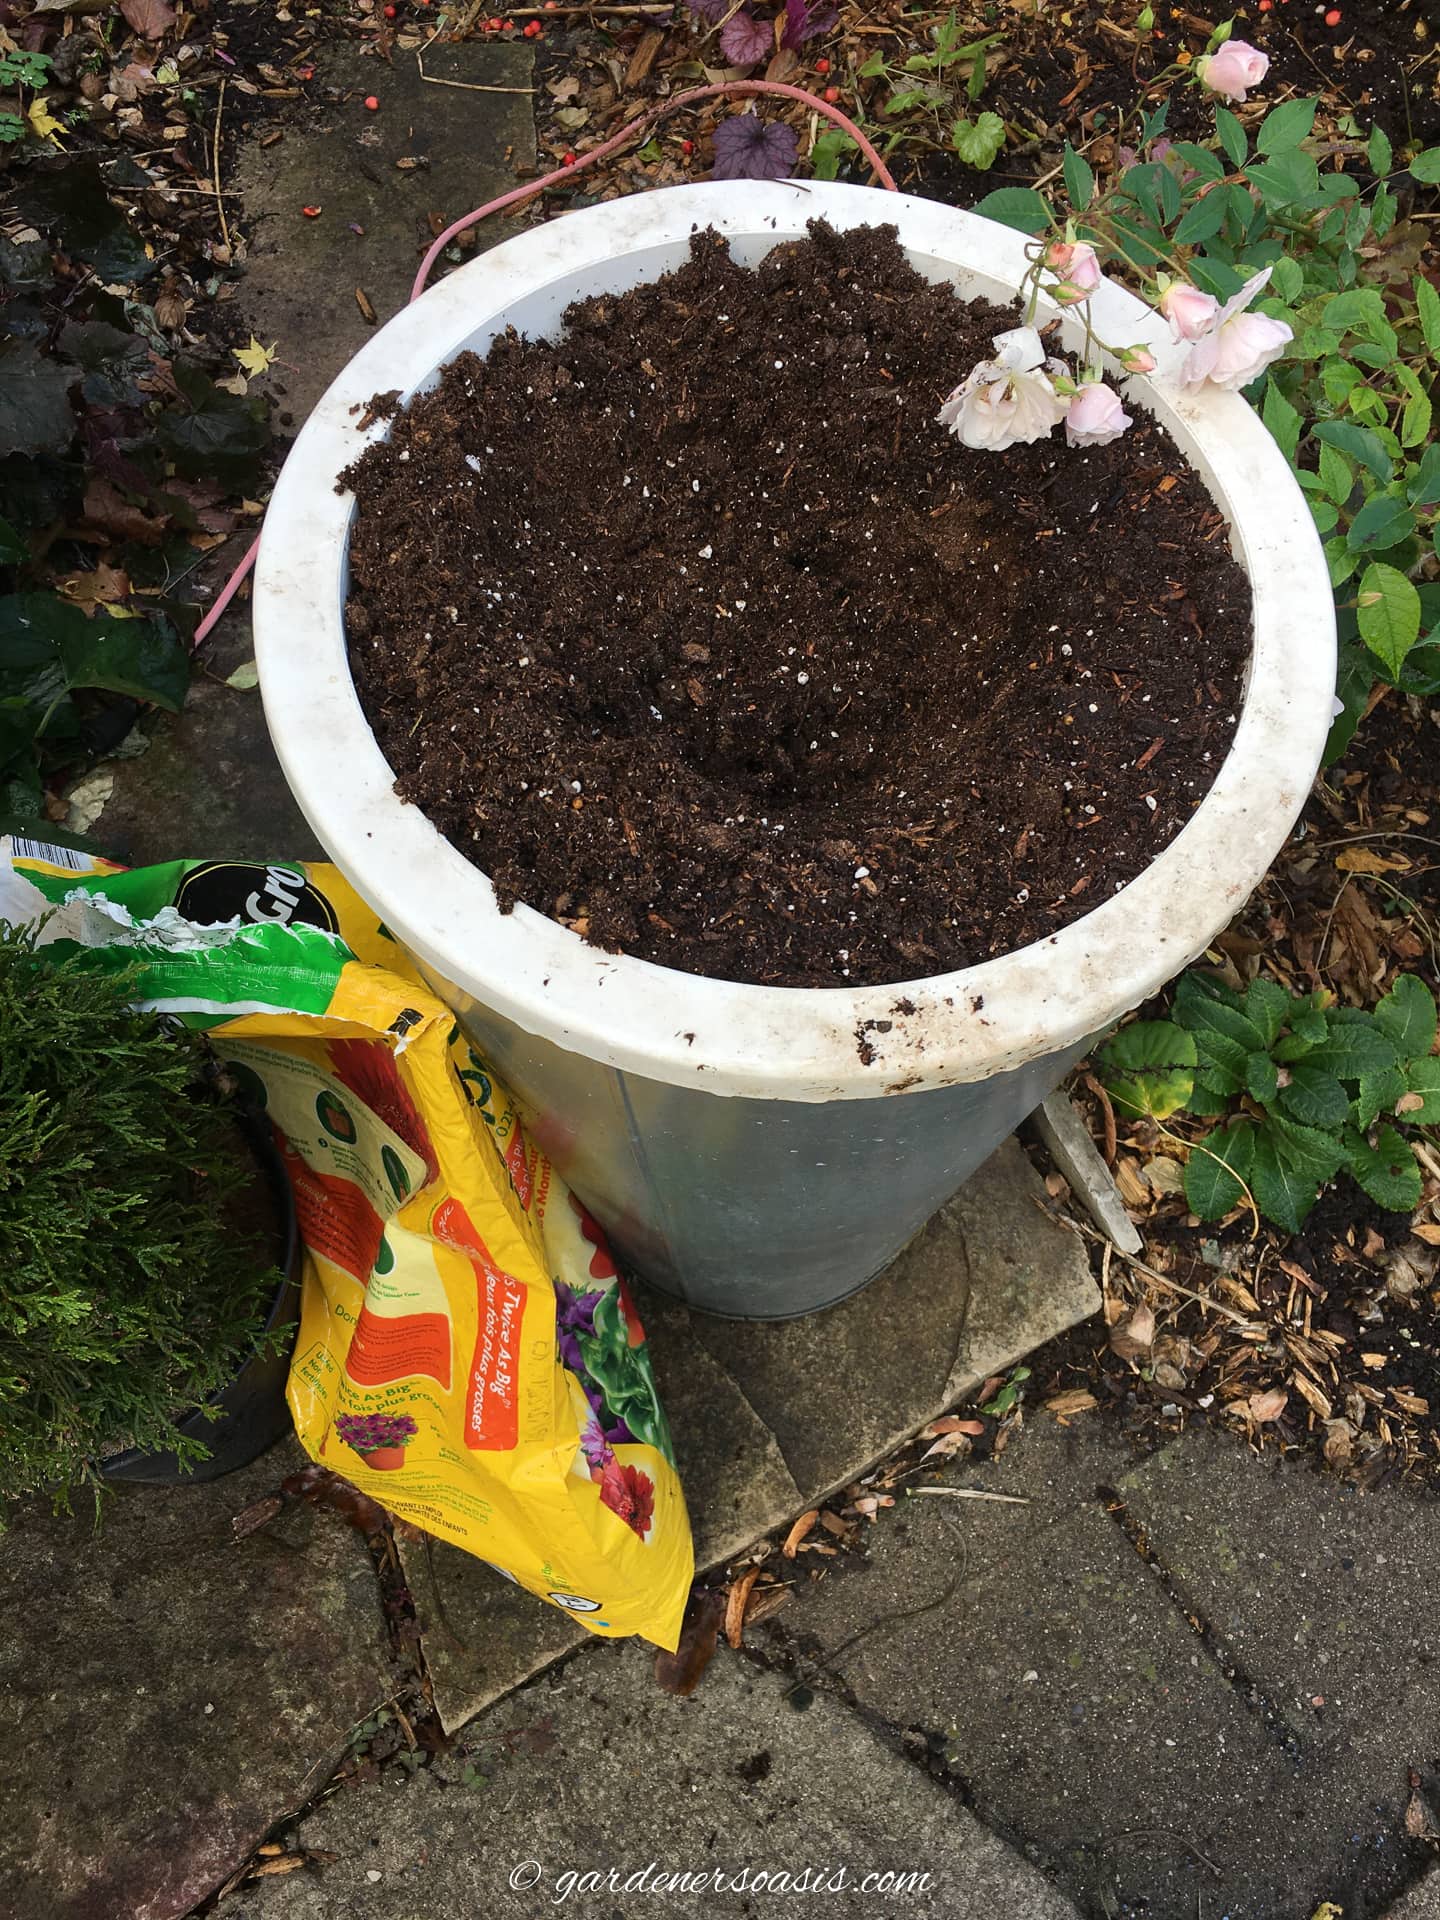
If you are using the plastic container (or floral foam) to fill up some of the planter, place it upside down at the bottom.
Then fill the container with soil so that it is level with the brim. Soil that is meant for container use works best since it is light weight and has extra nutrients in it.
My tree was on the short side so I decided to elevate it in the center of the pot.

To accomplish this I bent 2 strips of thick cardboard into curved shapes and set them on top of the soil filled container in a circle about 2″ in from the outside edge.
Now plant the tree into the circle. I unpotted mine to plant it, but that is optional.
Bury the tree into the circle so that the rim of the pot or the plant’s roots are level with the top of the cardboard edge.
Pack soil around the tree roots between the plant and the inside of the circle.
The bottom of the little tree is now higher than the top of the container.
Don’t worry, the cardboard will not be visible when you are finished.
2 | Add evergreen branches
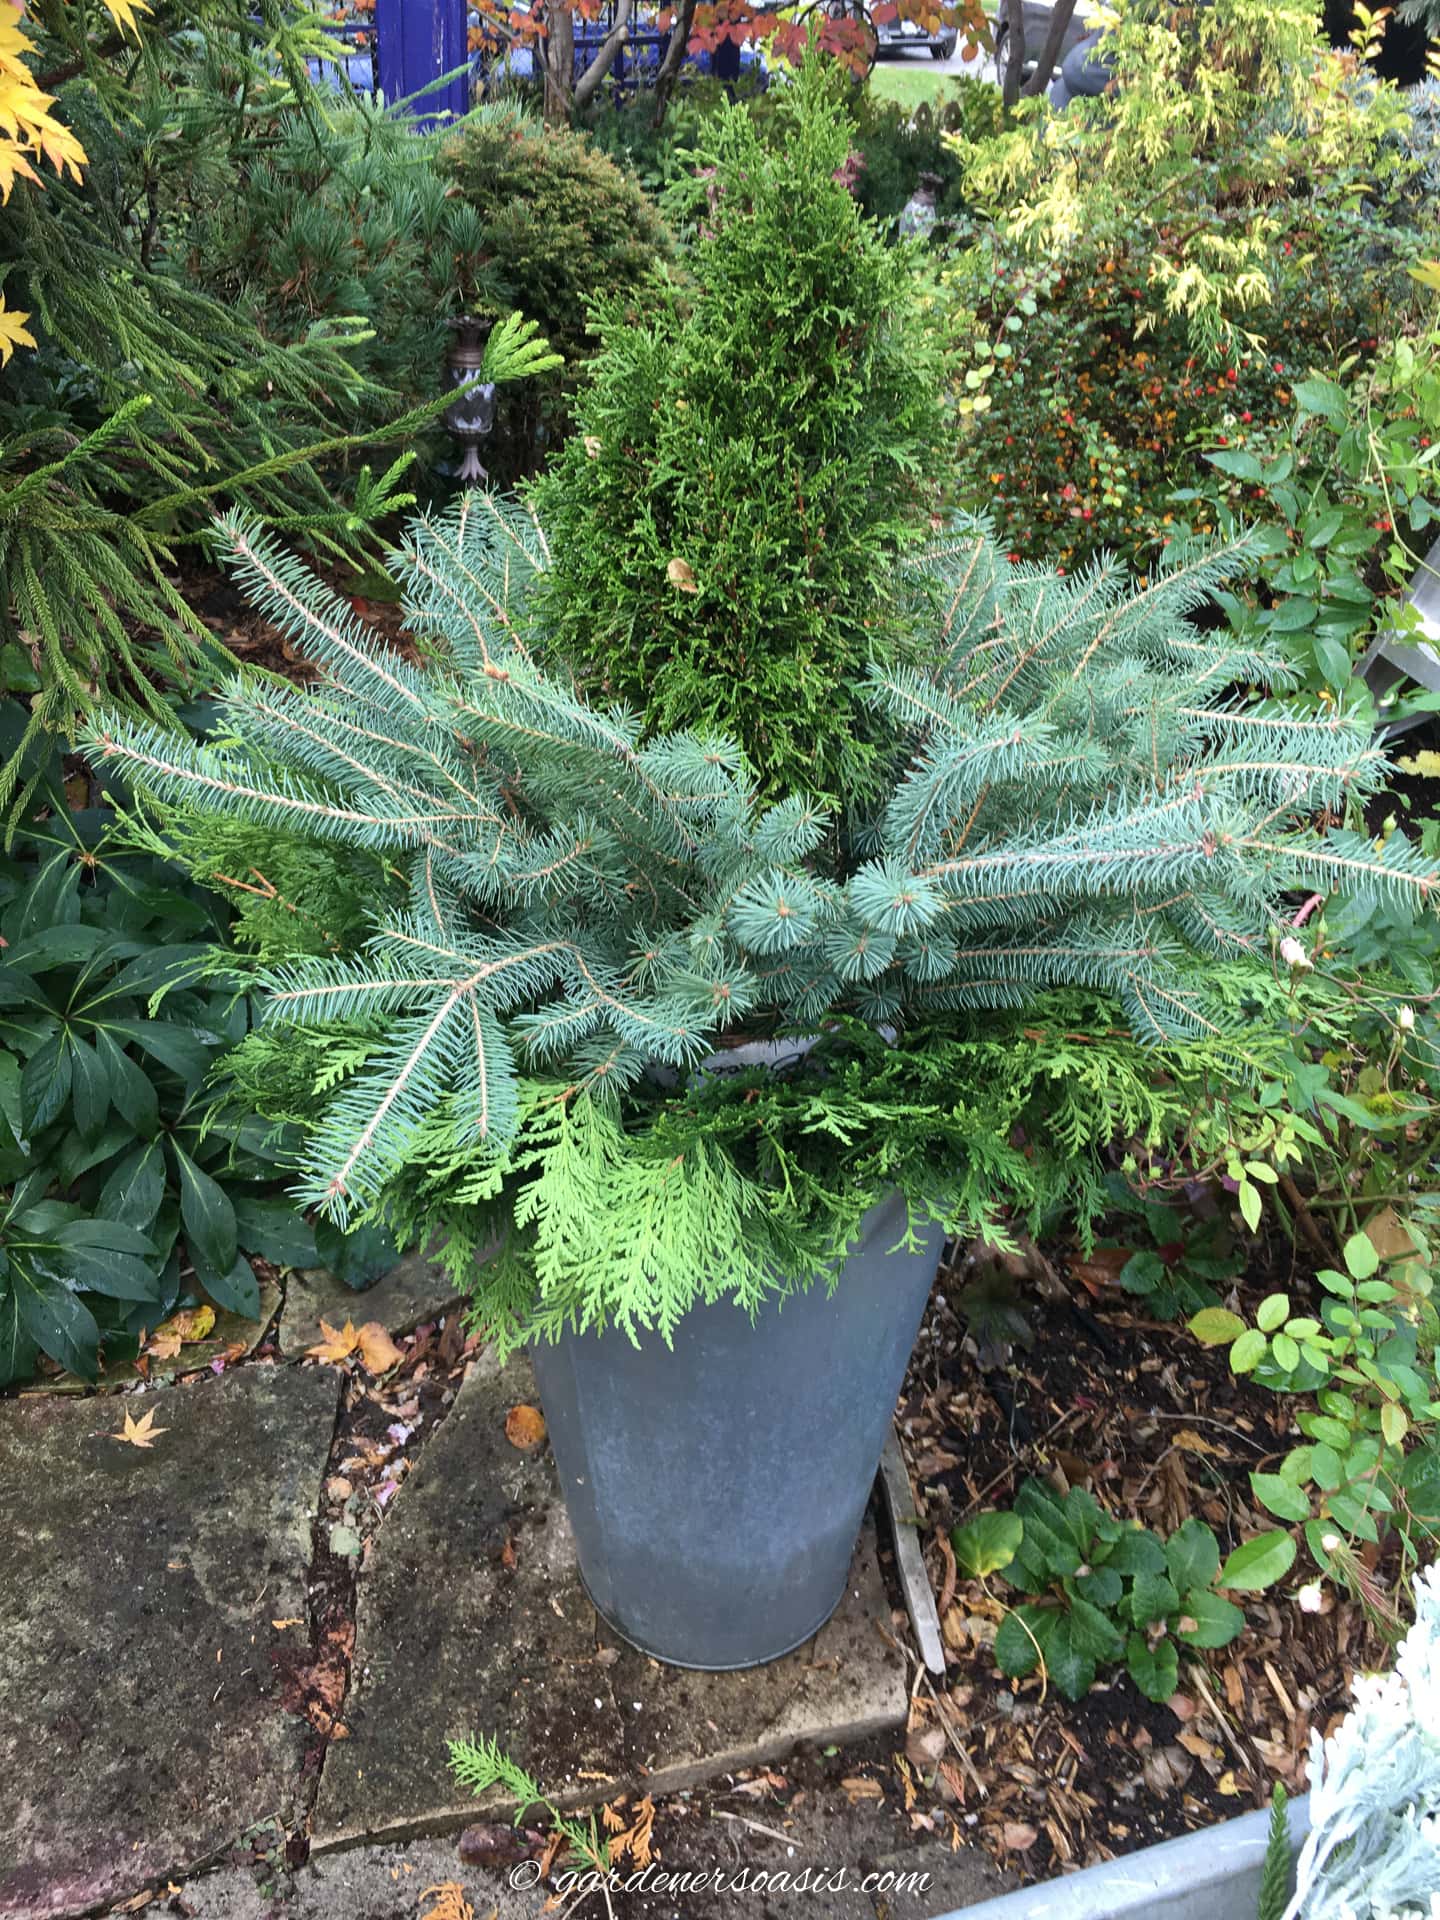
Then take spruce branches that are about 2 feet long and insert the stems into the soil between the tree and the cardboard.
Fill all around the tree generously with the boughs.
Next, I added cedar boughs close together around the outside rim of the planter. I love the way they drape over the edges. The container is taking shape.
3 | Insert picks and Hydrangeas
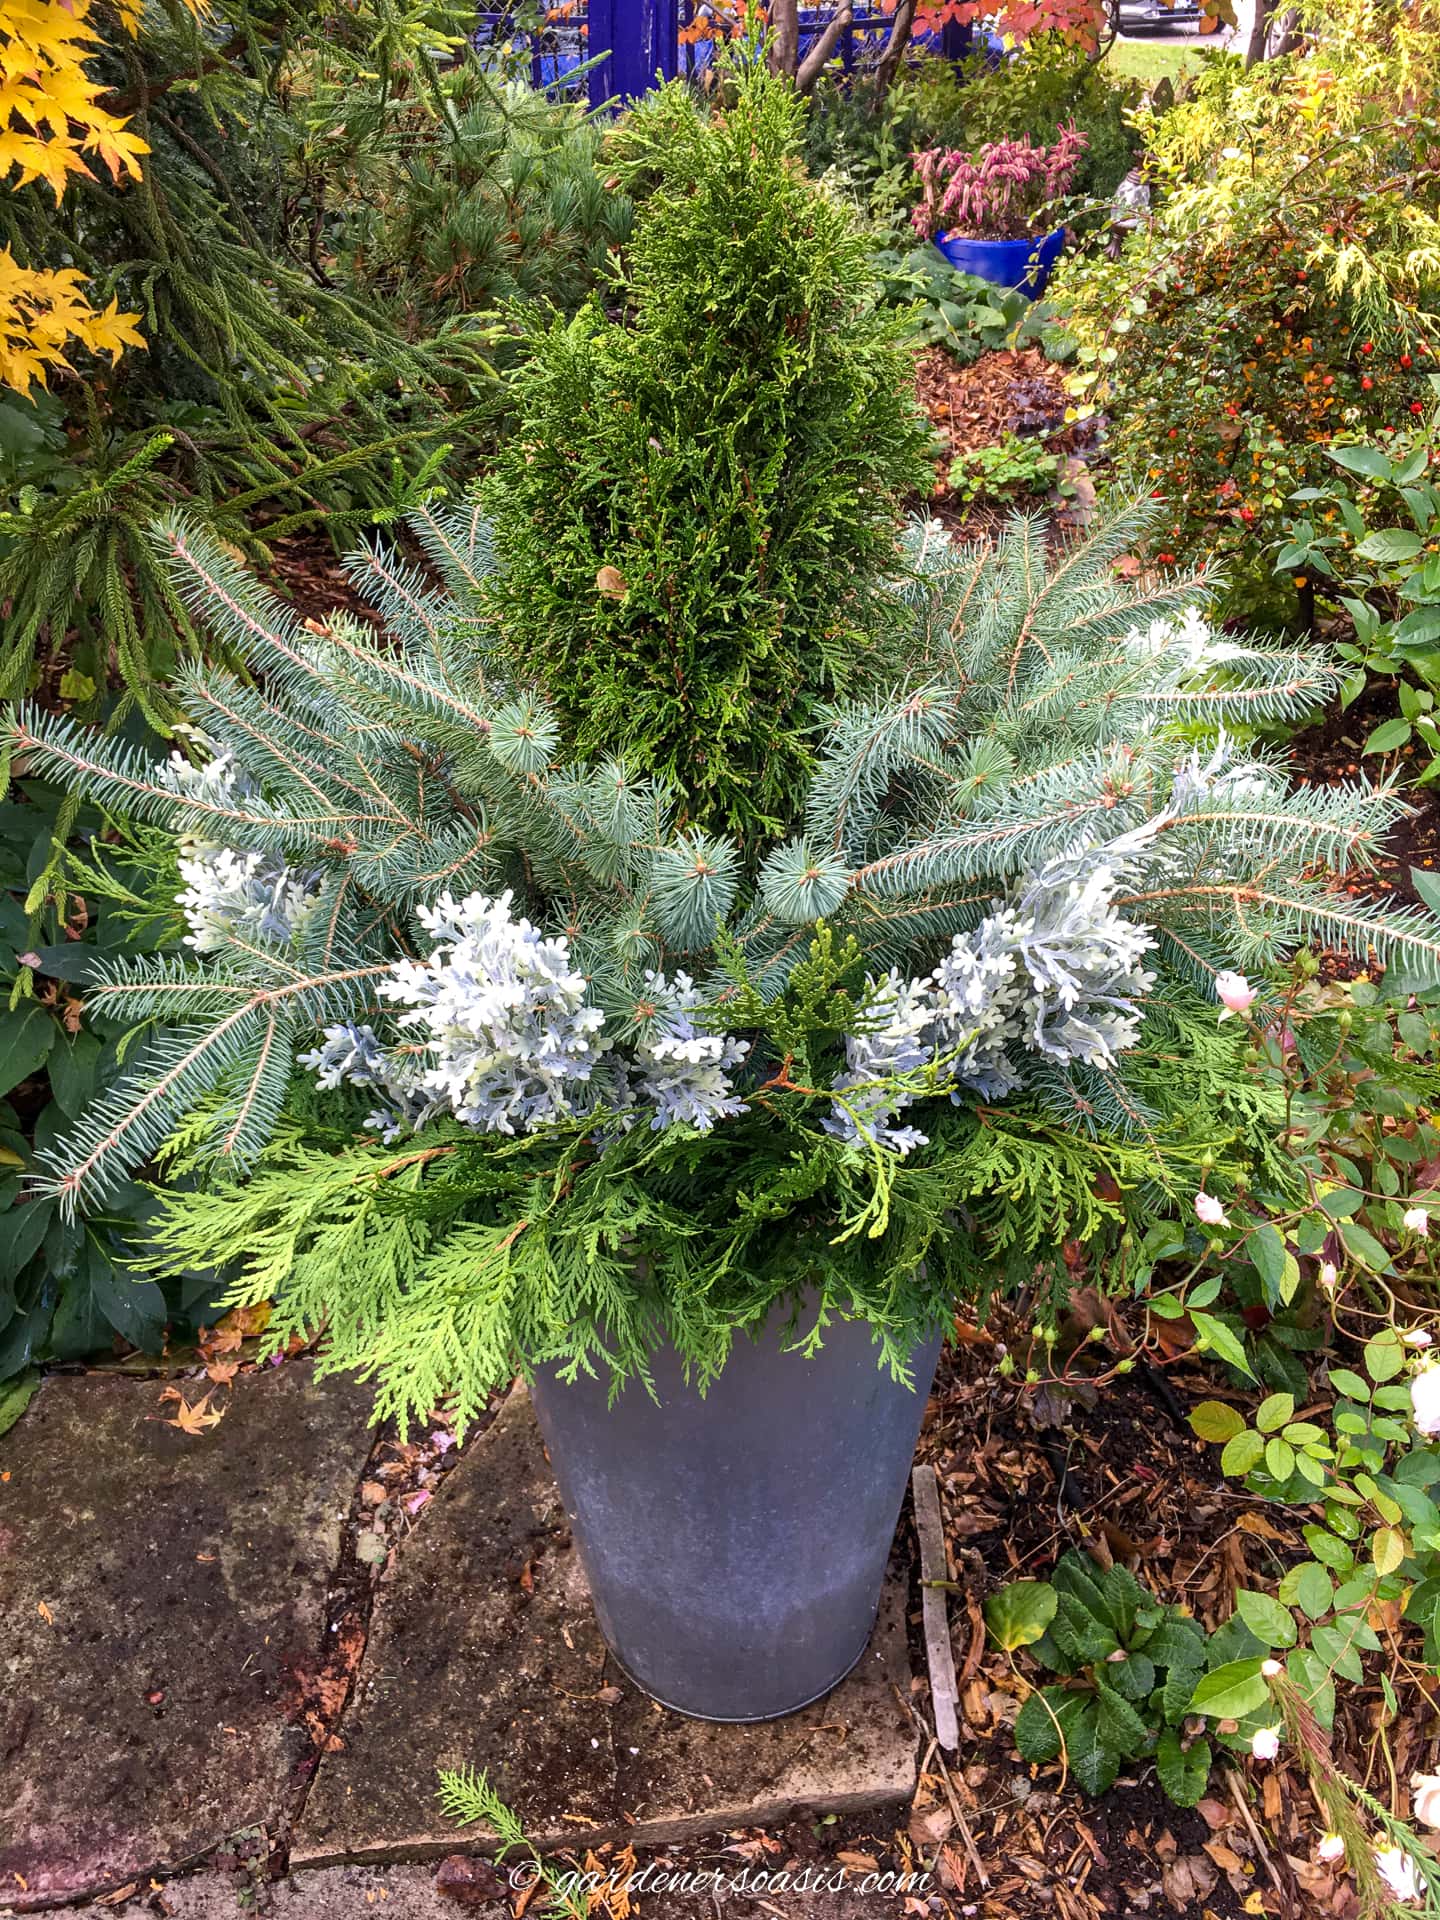
To add height and color variation, insert a circle of faux dusty miller picks between the cedar and the cardboard.

Then add the berry picks between the spruce boughs and the tree.
Try to position them in such a way that they are alternating with the dusty miller. This will create variance and visual variety in the overall aesthetic.
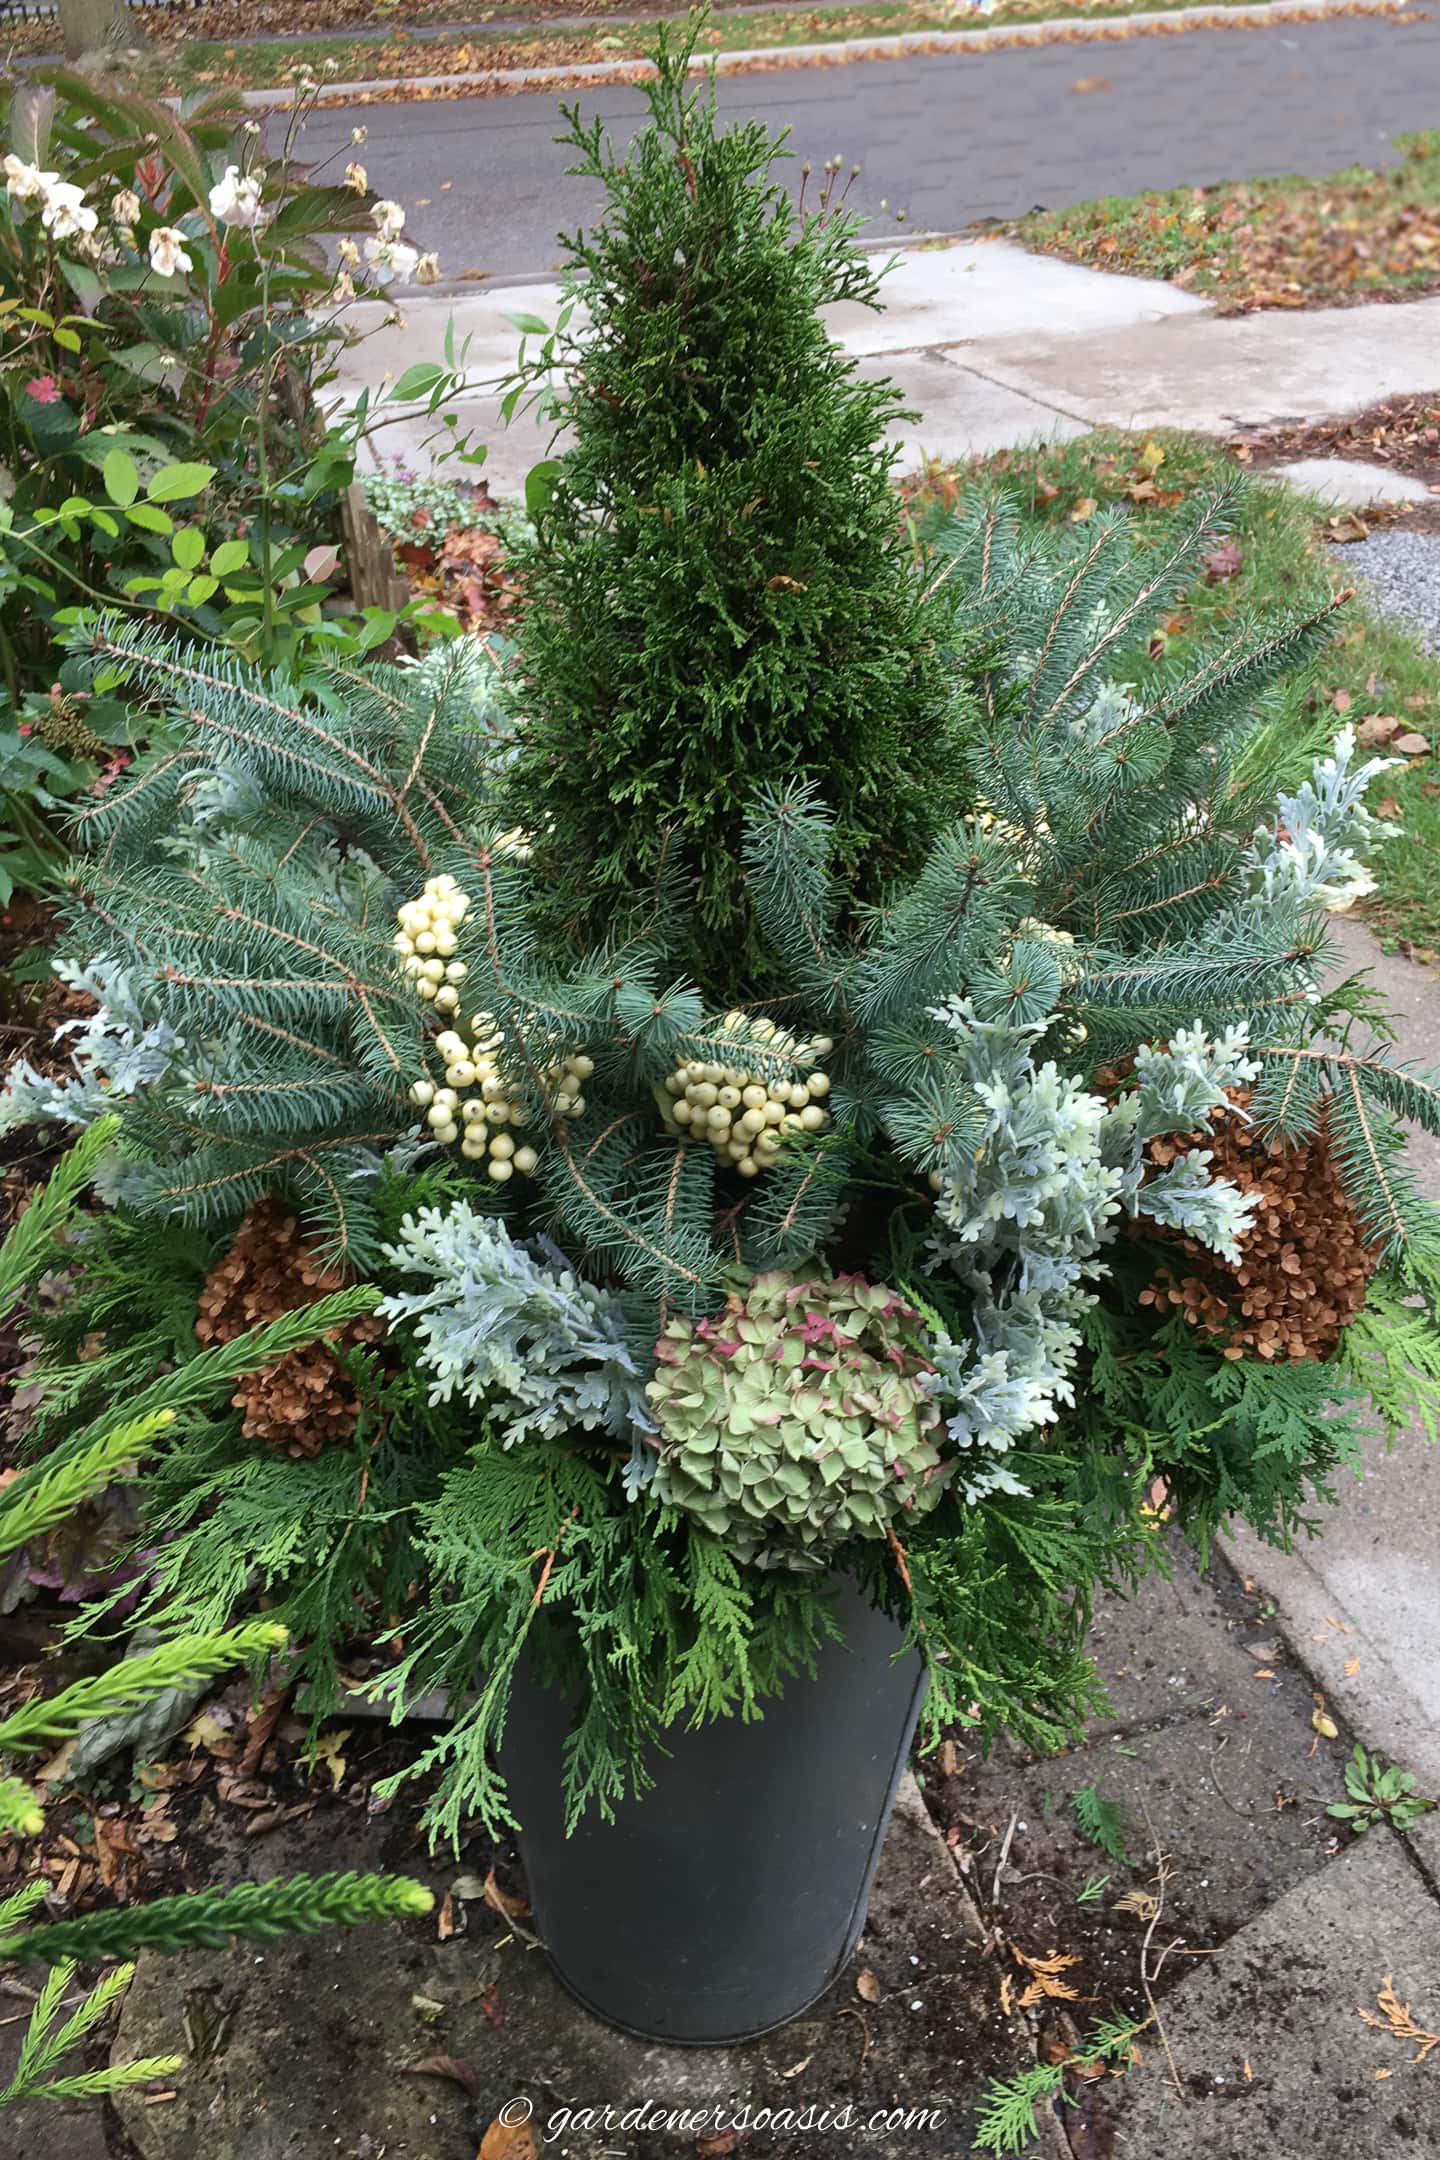
I created the same alternating pattern with dried hydrangea blooms by pushing the stems into the soil between the dusty miller and the cedar boughs.
They help to fill in any gaps and provide a contrast in texture with all of the evergreens.
5 | Wind on the lights
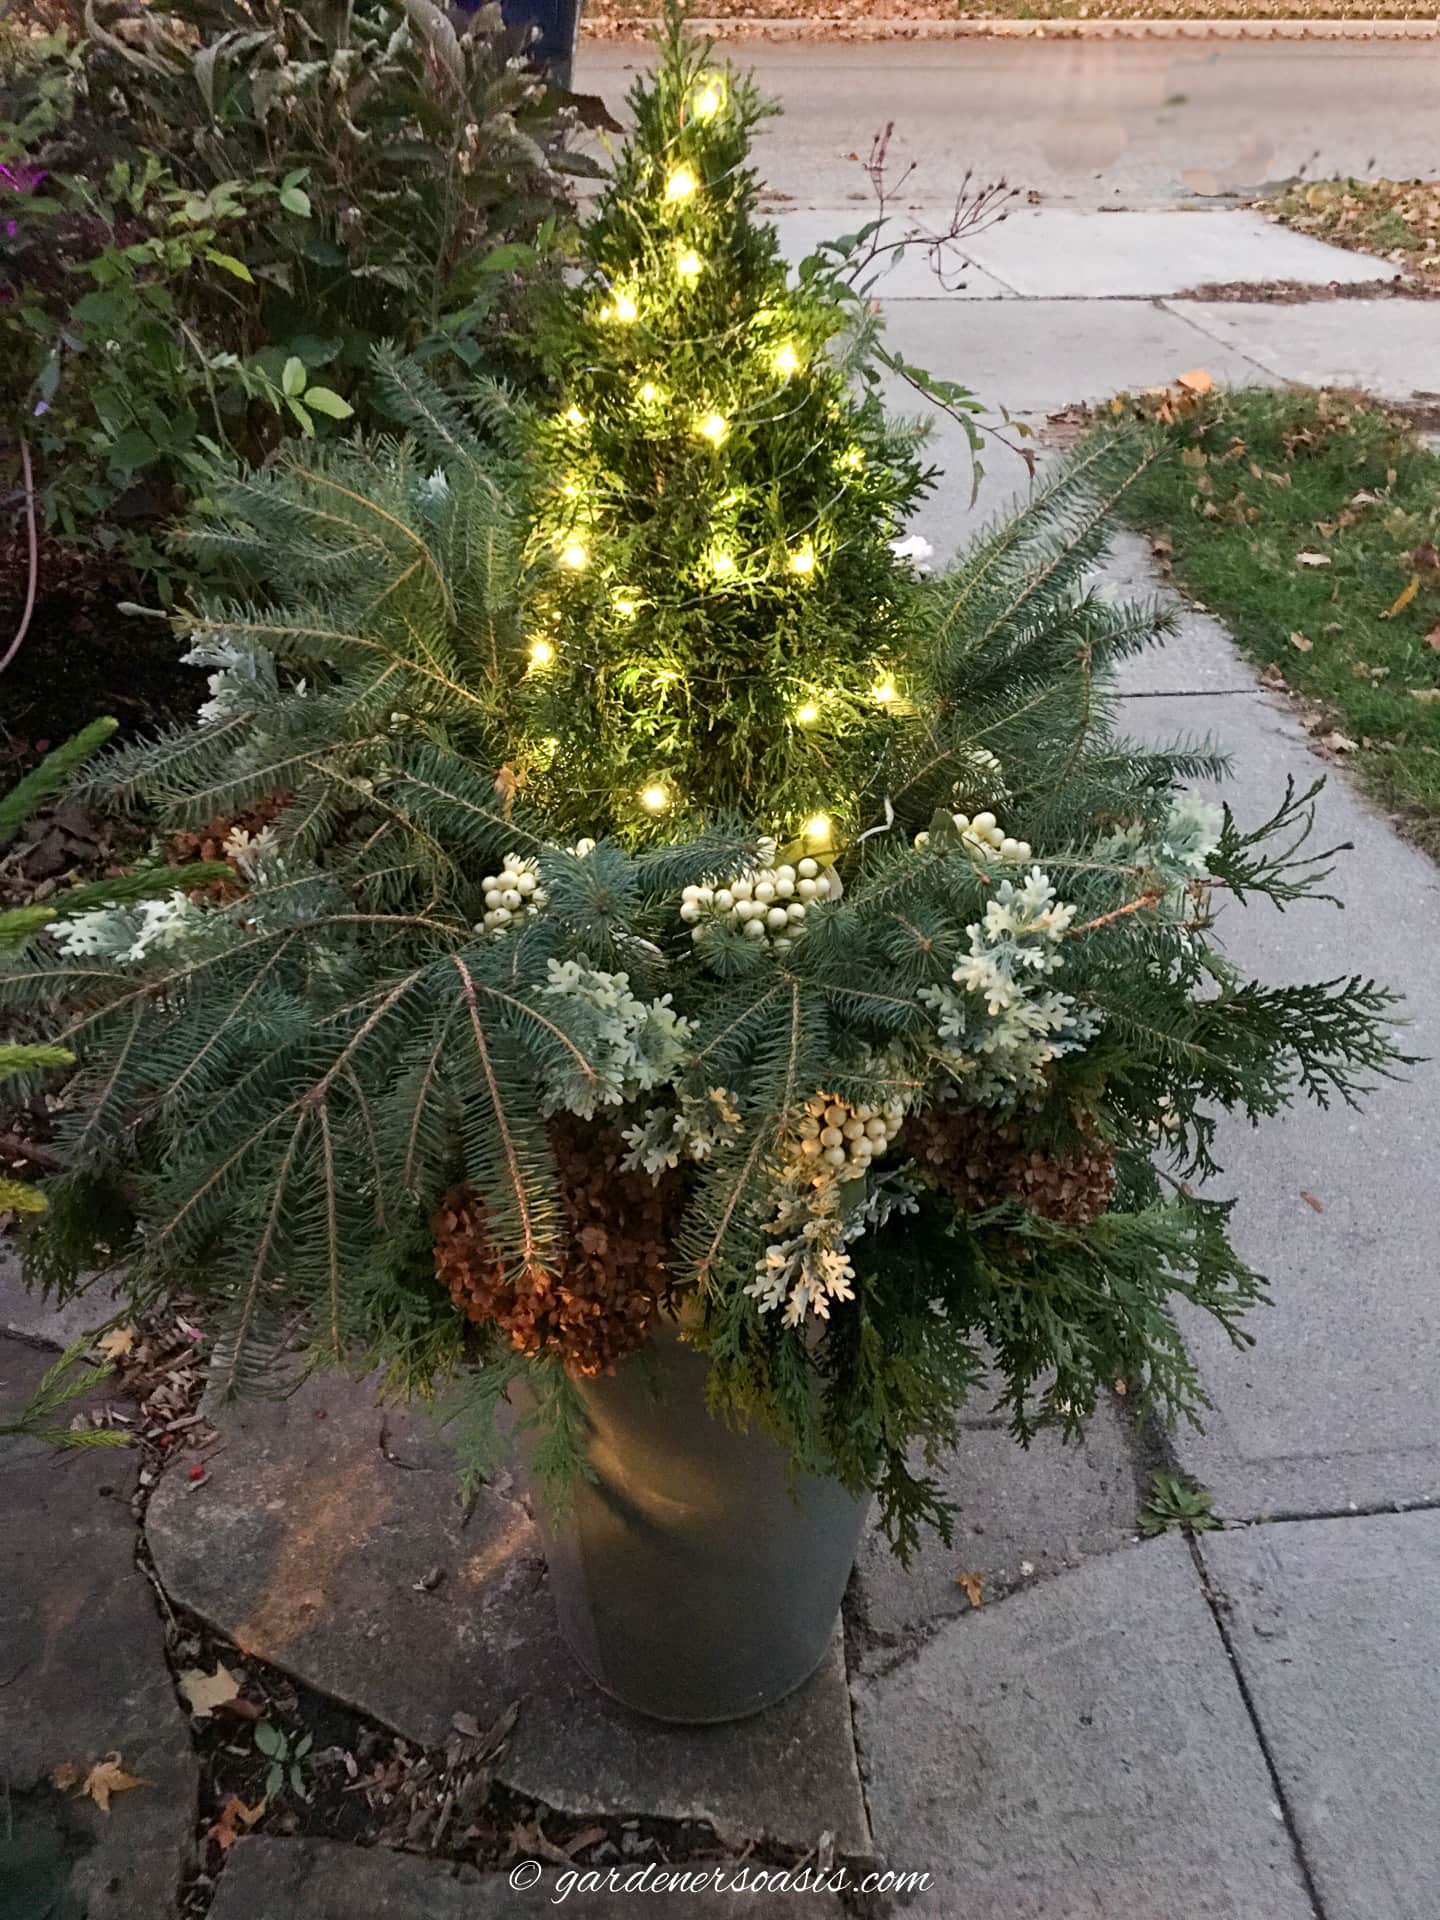
The last step is to wind mini string lights around the tree, if you are using them.
Don’t forget to turn them on at the time you want them to light up. That way they will come on automatically every day.
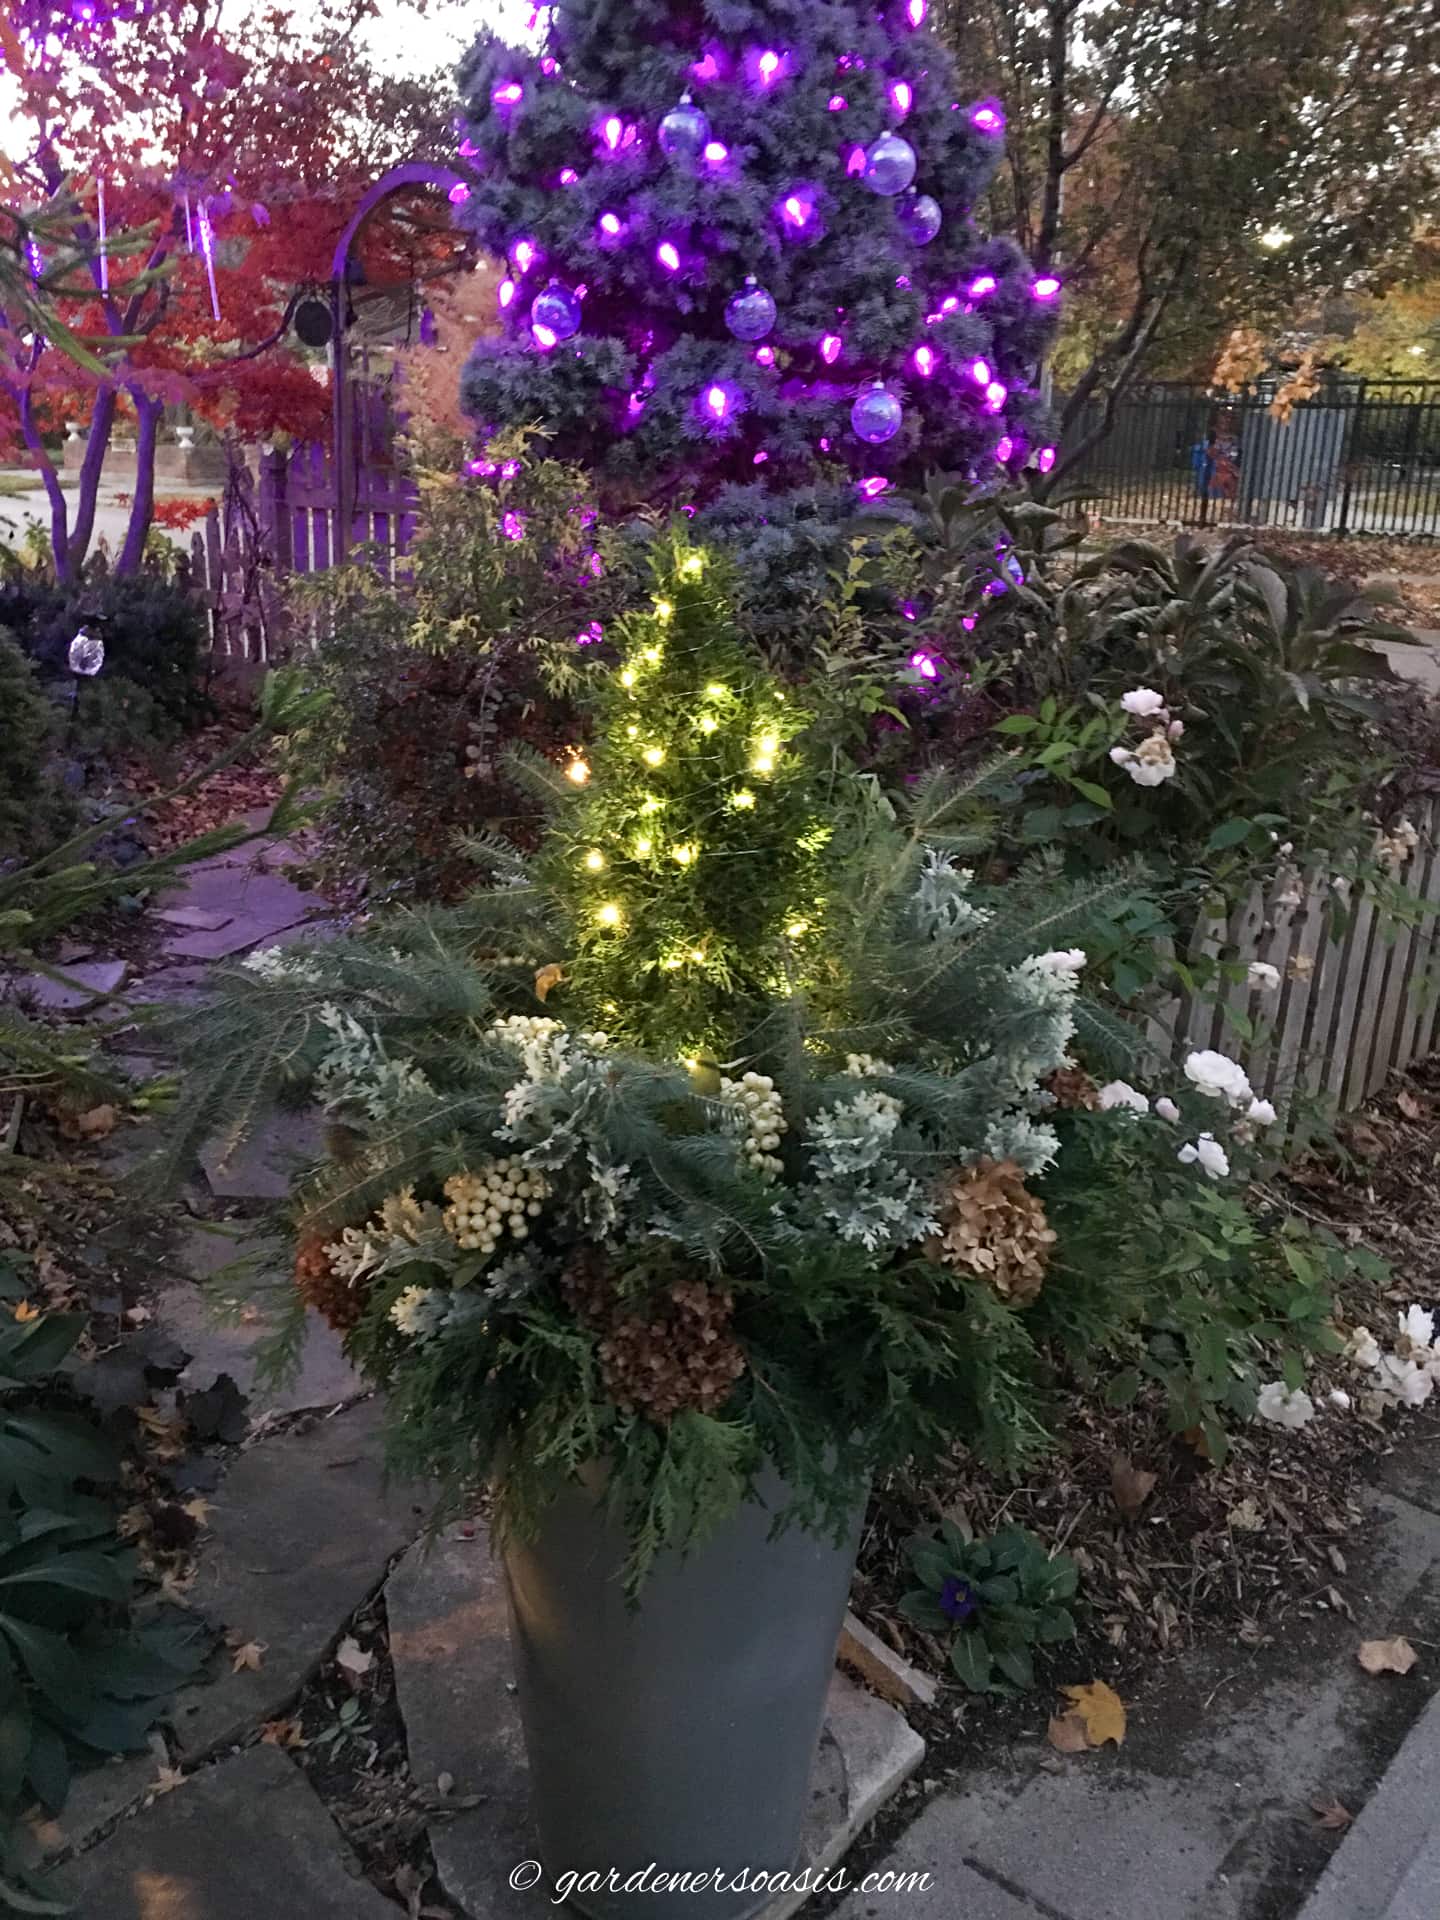
Mine looks very pretty at night when the entire container stands out in the darkness with the little lights sparkling.
And provides some contrast with the purple lights I have in the trees in the rest of the front yard.
That is the easy and simple process I used to create a stunning outdoor winter planter for the front door.
Seasonal updates
Because I like to reuse my planters without having to start from scratch, I always have a plan for what to do with it next:
- Come spring, I will remove the boughs and faux picks and plant pansies around the tree and the outer rim.
- Then, I will replace the pansies with purple calibrachoa and ivy for the summer.
- Next fall, I will remove the emerald cedar from the planter before it gets too big. Then it will go into the ground to fill a gap in the hedge in the back garden.
Other winter gardening ideas you might like
- DIY winter window box ideas
- Winter flowering plants for your garden
- The best evergreen shrubs for shade
- The best evergreen shrubs for sun
I think your idea is very pretty and I do like the lights. It really makes it look nice. I’m gonna try that myself and see if I can duplicate it. Thank you so much for the information. It was very helpful.