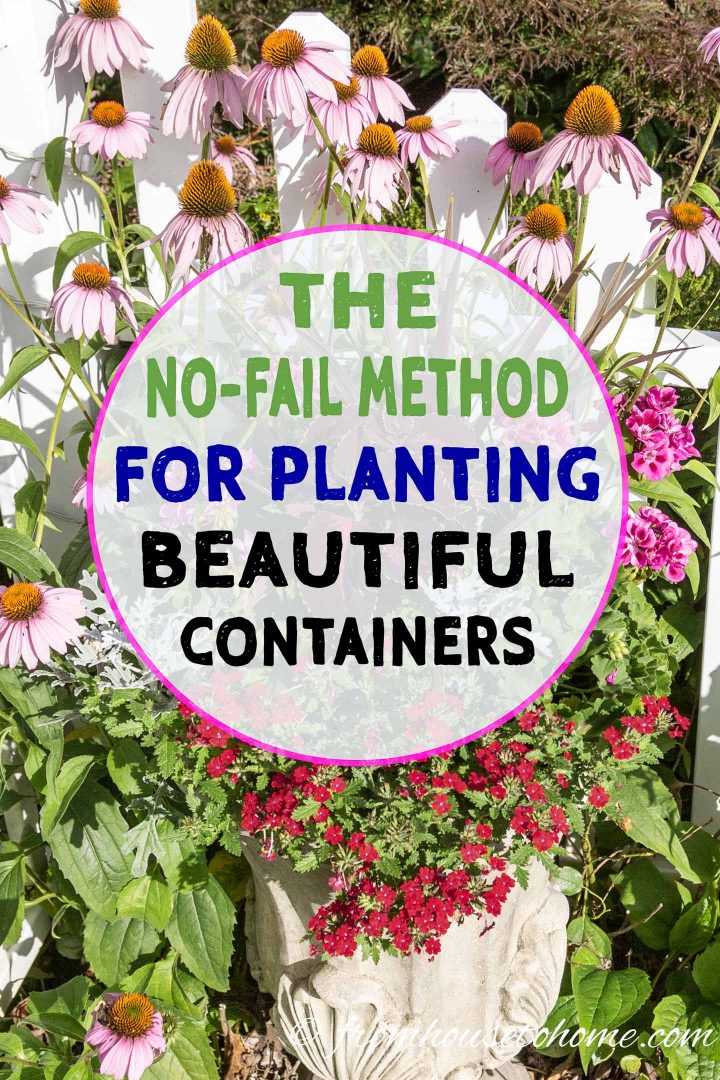
Planting Containers: The No-Fail Method For Making Beautiful Containers

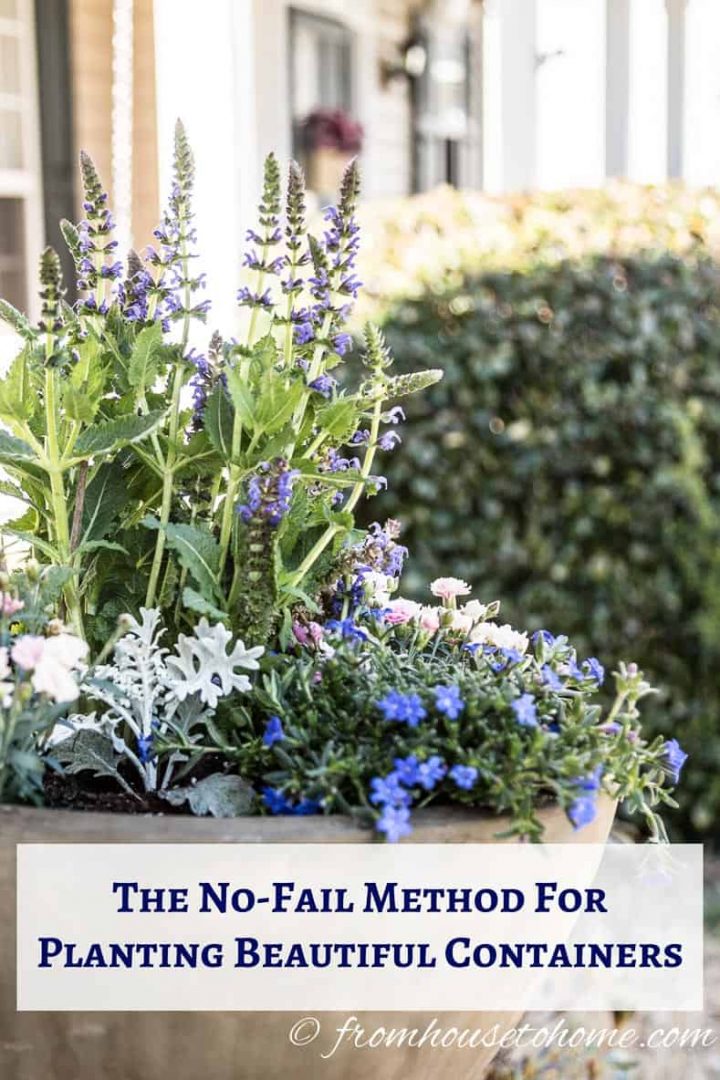
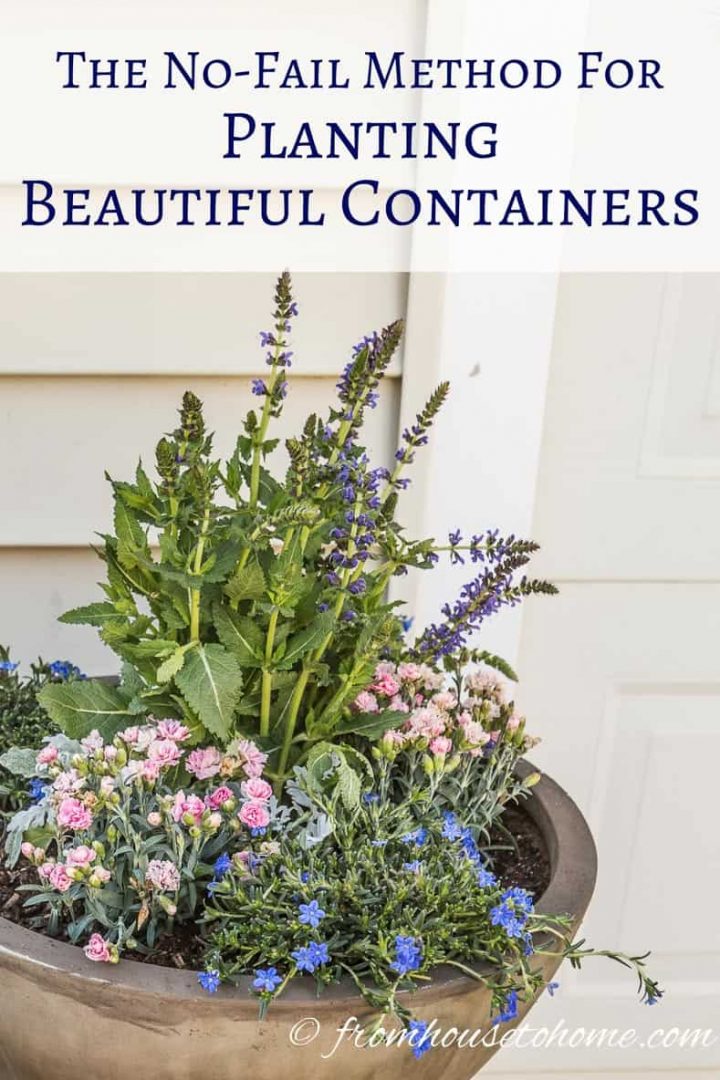


One of the formulas I use for planting beautiful containers comes from an old version of Fine Gardening Magazine. They coined the saying ‘thrillers, fillers and spillers’ as a way of describing the types of plants to put together in order to create lush-looking combinations.

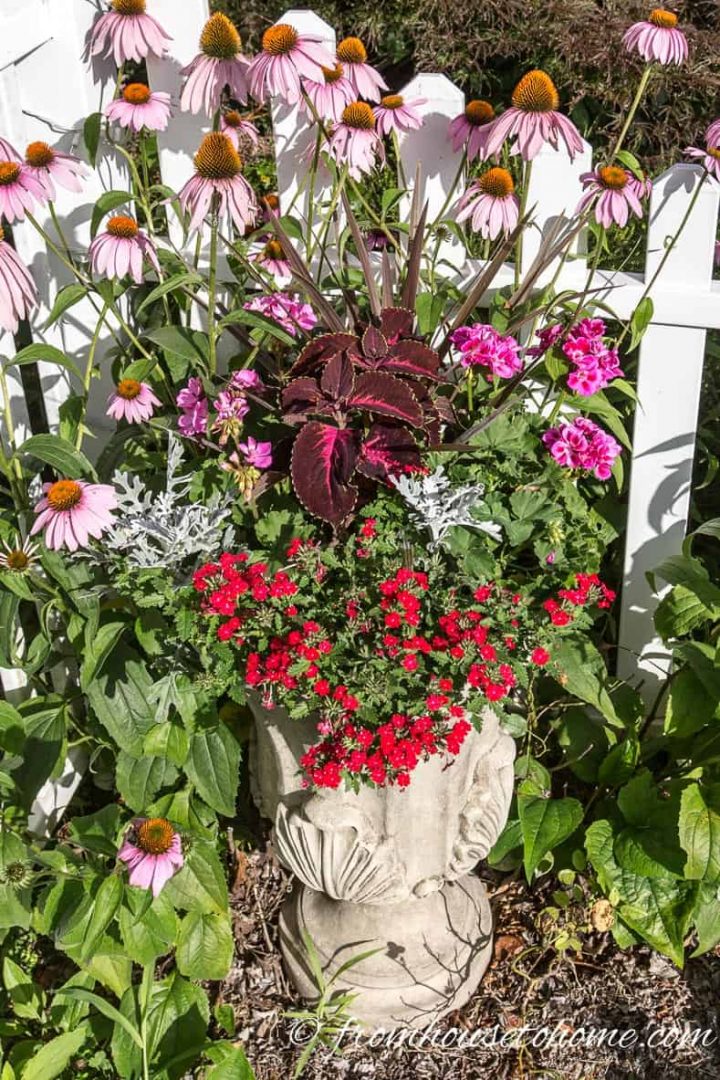
The ‘thrillers’ give the container height and can be either foliage or flowers but should make a statement. They are placed in the center of the pot if it will be viewed from all sides, or at the back of the pot if the back view is blocked.
The ‘fillers’ are medium-sized plants that will fill in the middle of the pot around the thrillers.
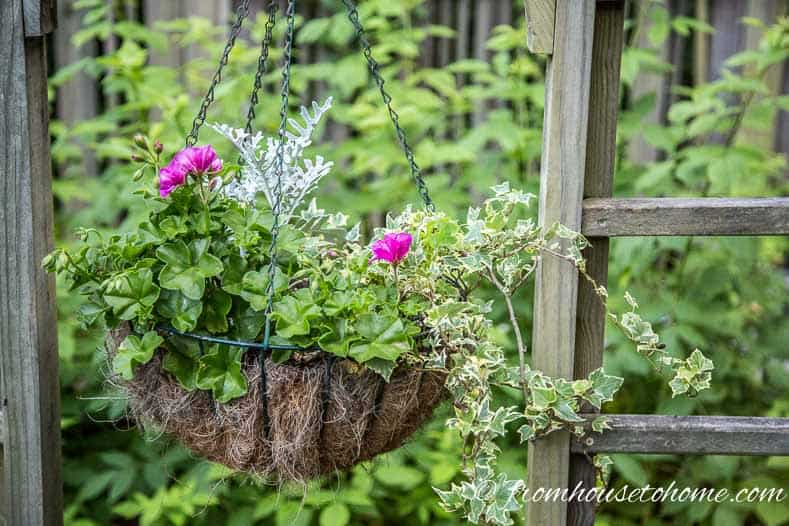
The ‘spillers’ are those plants that naturally will drape over the sides of the container.
Success Tip: Figure out how much sun your container will get before you buy your plants. That way you’ll know what types of plants to look for.
Now that you have the formula, click Next to see the step by step instructions for planting beautiful containers.
Step 1: Prepare the Pot
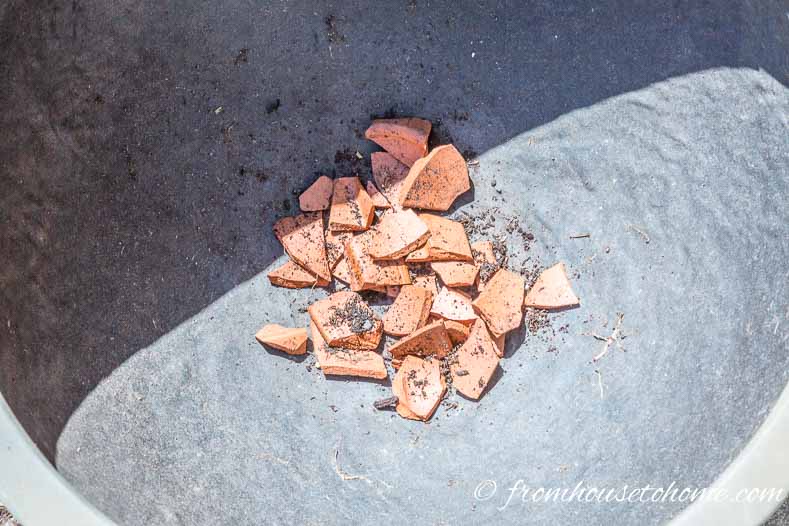
The first step to planting beautiful containers is to make sure the pot has good drainage. Most pots will have holes in the bottom to let excess water drain (if not, you can usually drill your own holes).
Add some stones or broken ceramic pots to the bottom of the container over the holes. This will prevent the dirt from blocking the holes and allow the water to drain properly.

Fill the pot most of the way up with a good grade potting mix containing slow release moisturizer.
Success Tip: Larger containers are easier to maintain than smaller ones (which dry out really quickly in hot weather). I only use containers that are at least 10″ in diameter.
Step 2: Add the ‘Thriller’
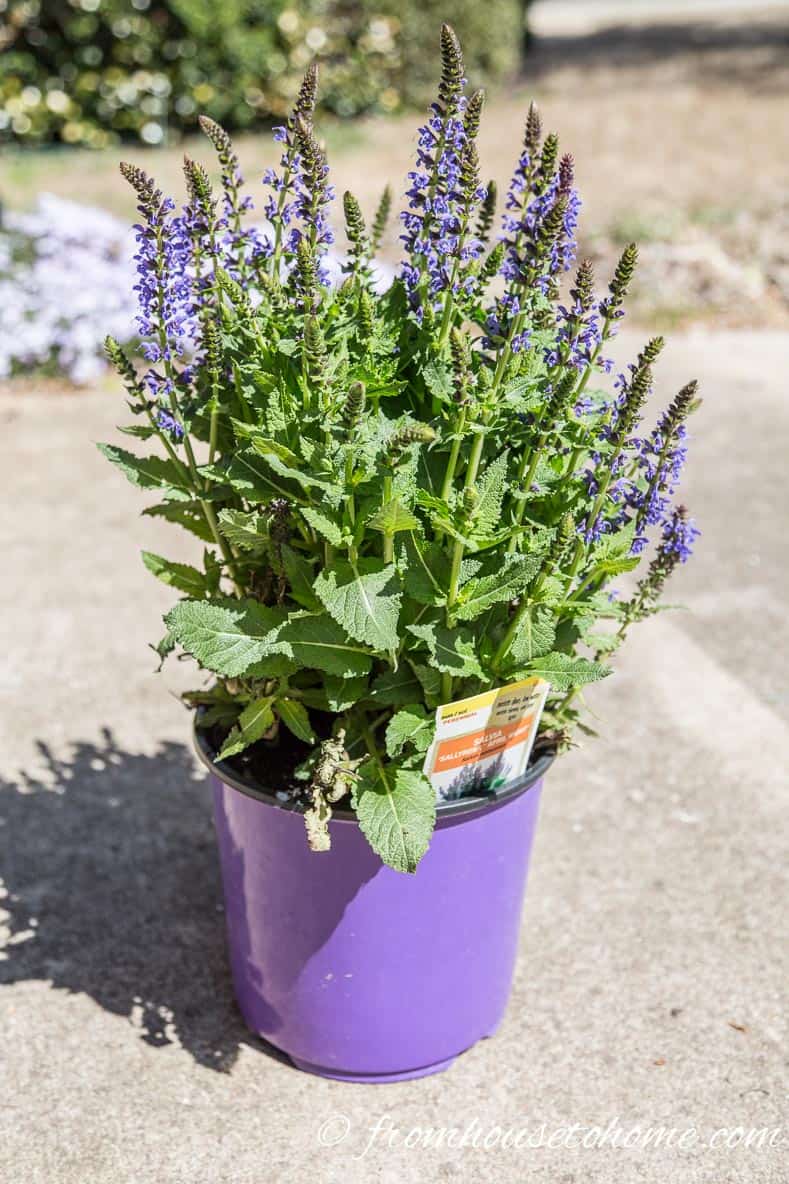
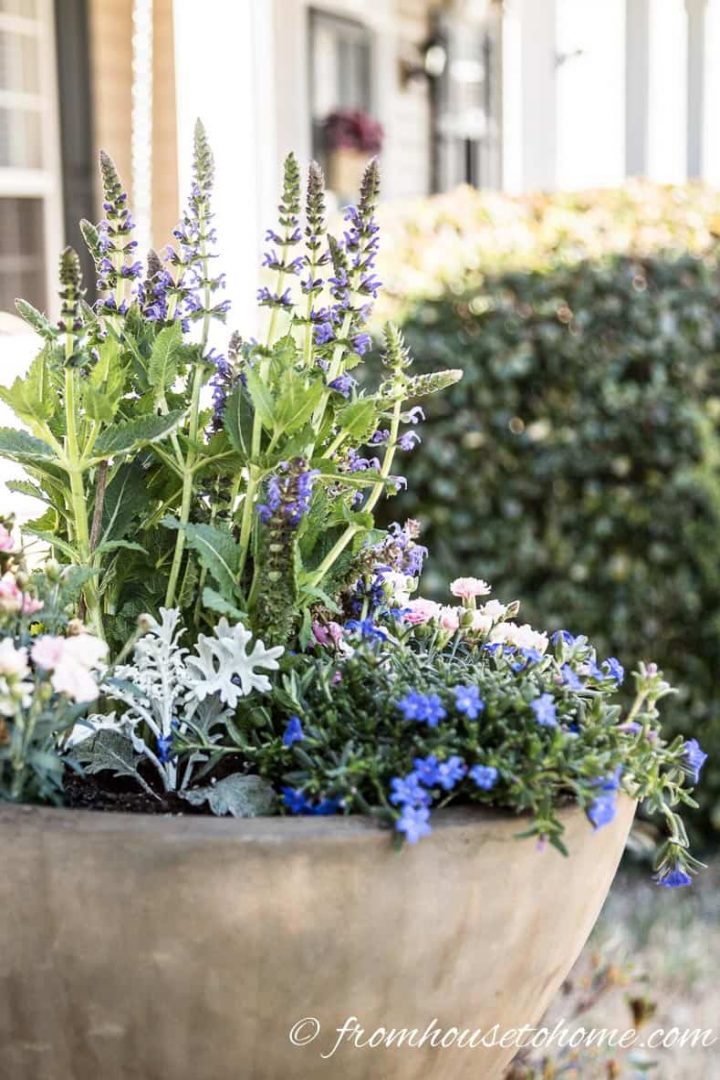
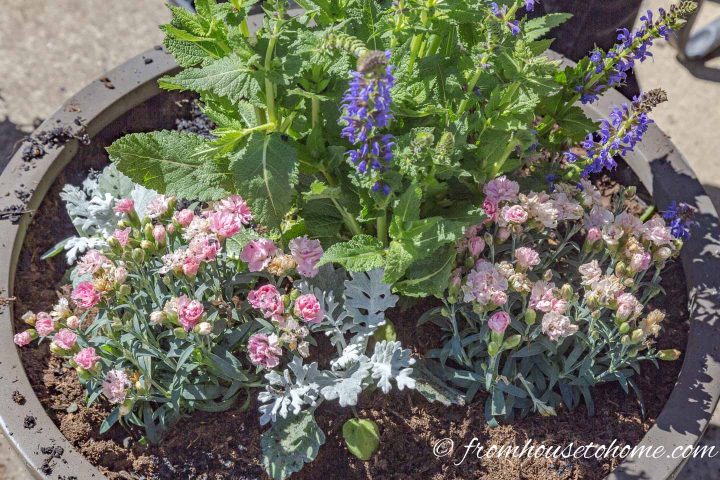
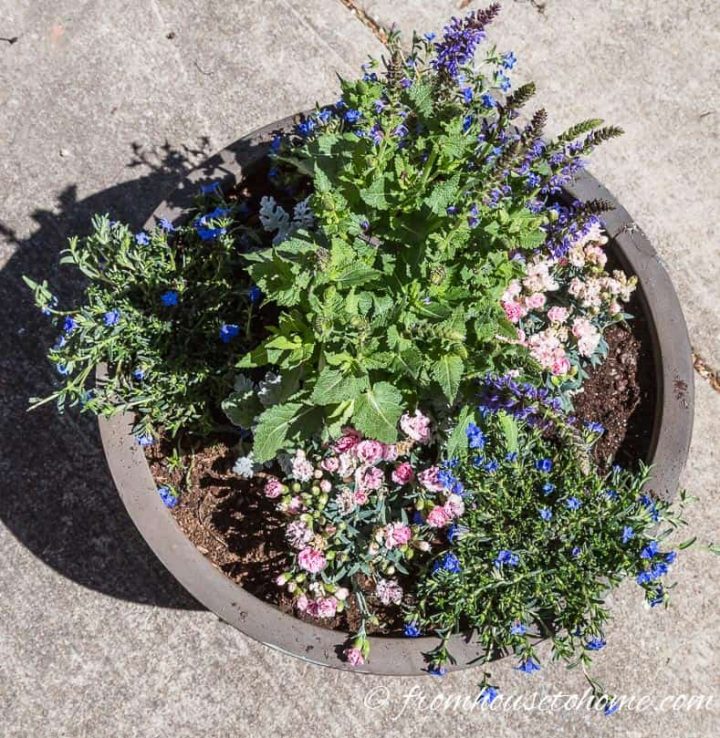
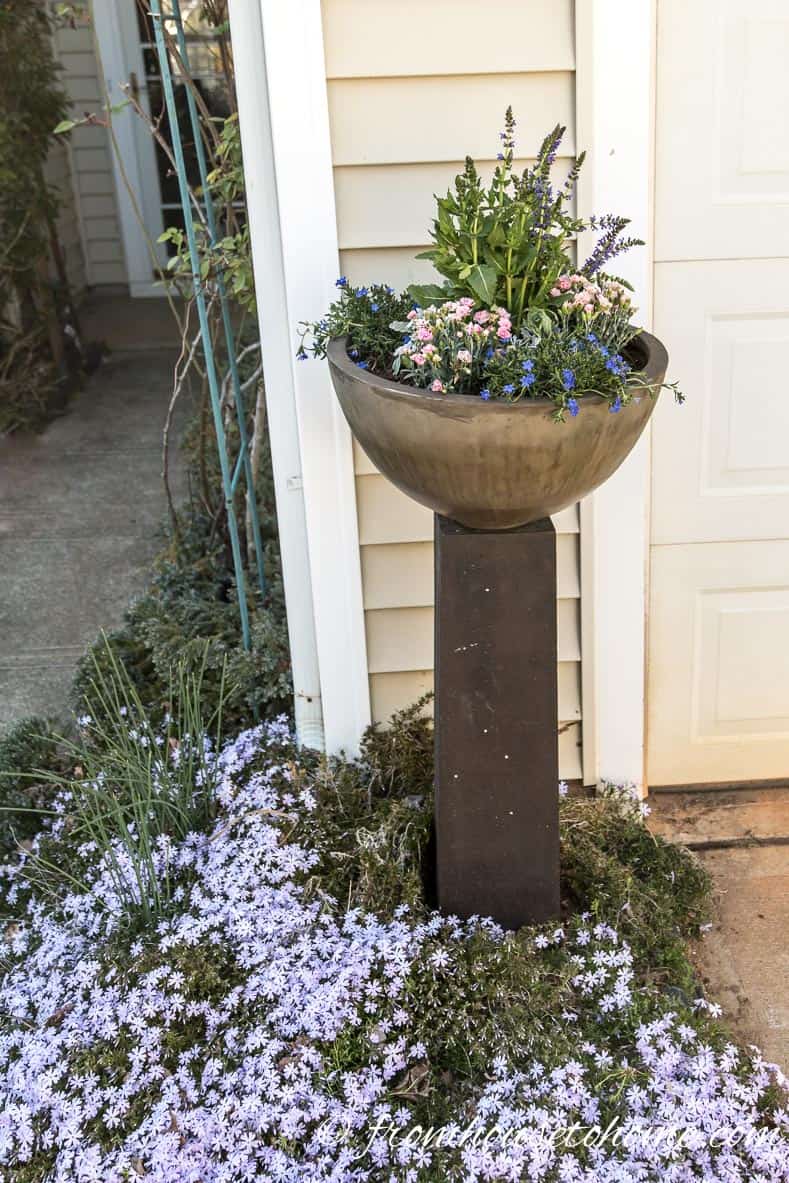
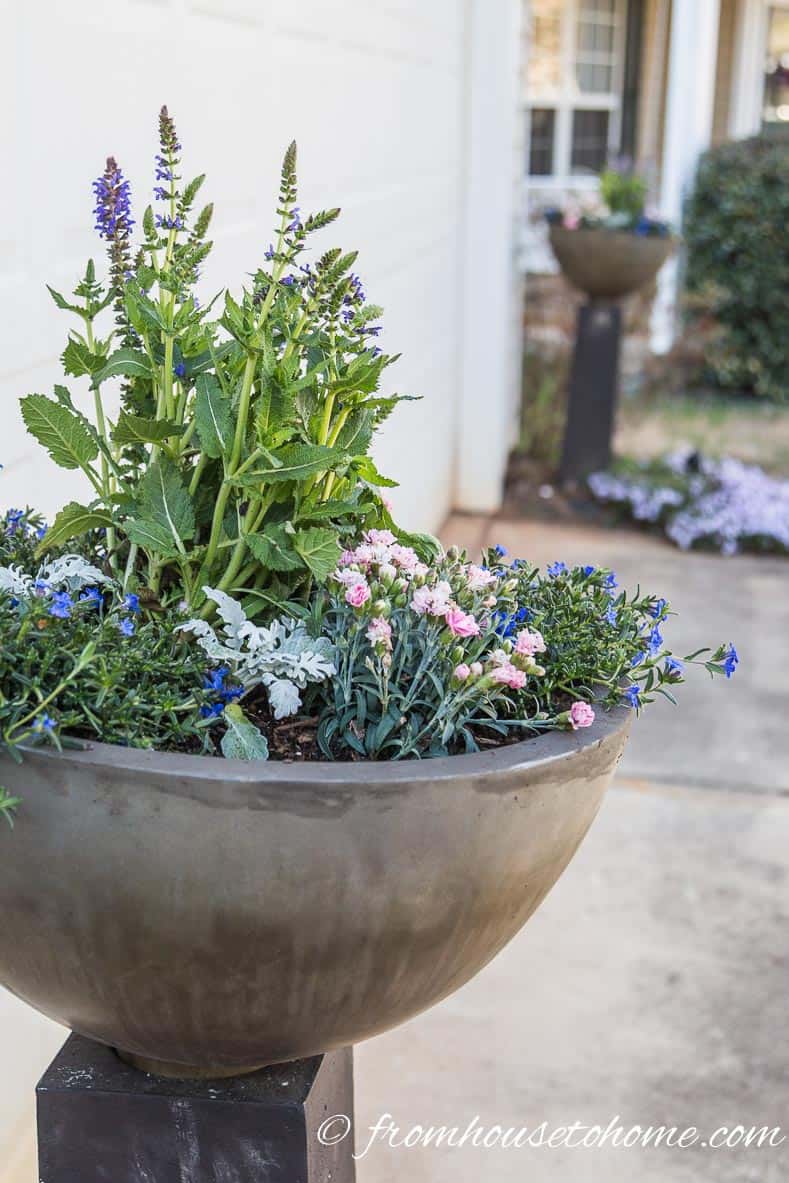
Unless you have a really big pot, you usually only need one thriller. For this planter, I used an ‘April Night’ Salvia. It’s actually a perennial, so once it stops blooming in the pot, it can be transplanted to the garden.
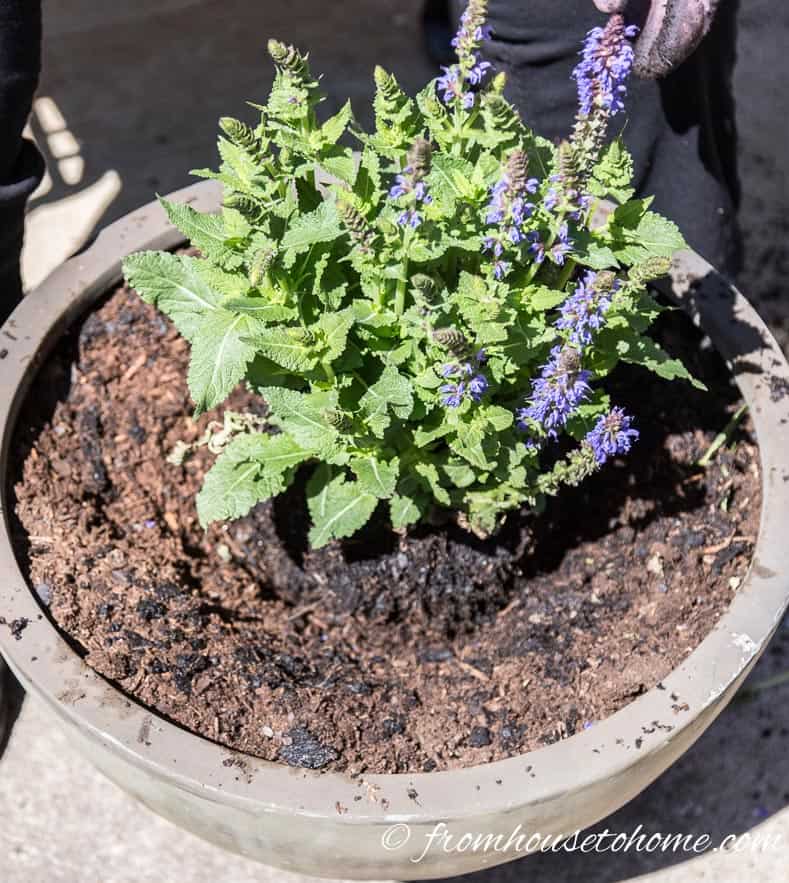
Dig it into the middle of the pot, with the top of the root ball a little lower than the edge of the container. If you won’t be able to see the container from the back, you can position it closer to the back of the pot (since it will likely prevent you from seeing the smaller plants behind it).
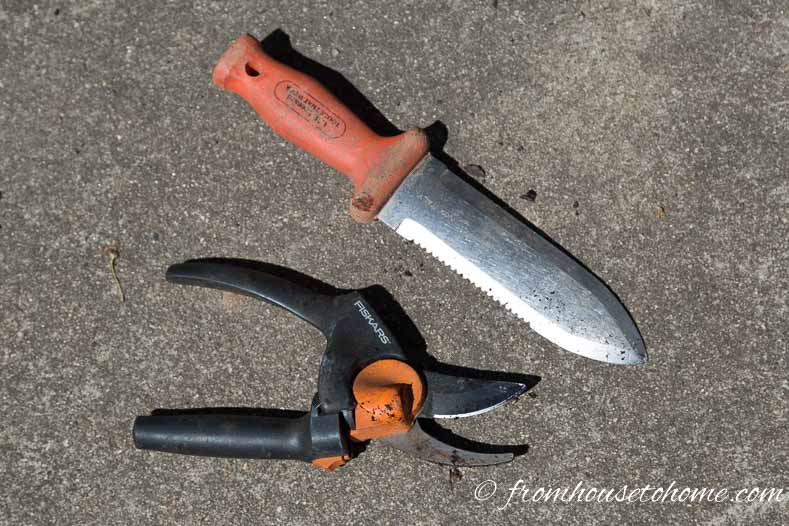
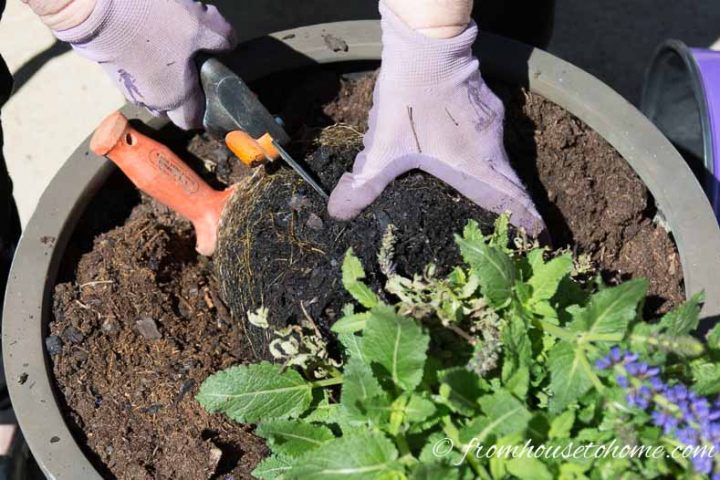
If the size of the plant you buy is too big for your pot (or you just want to save some money), you can divide most plants in half using pruning shears and a garden knife. This works well for most plants excepts bulbs and tubers.
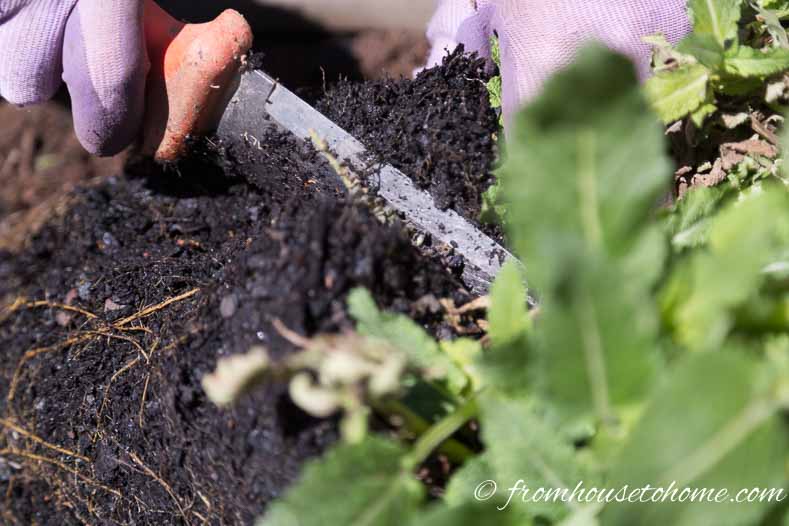
Use the knife to start cutting through the plant.
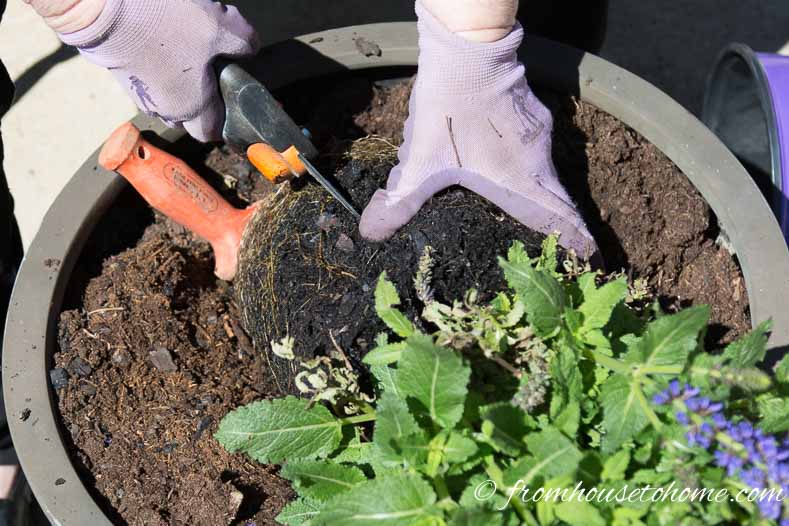
Then use the shears to finish cutting through the rootball.
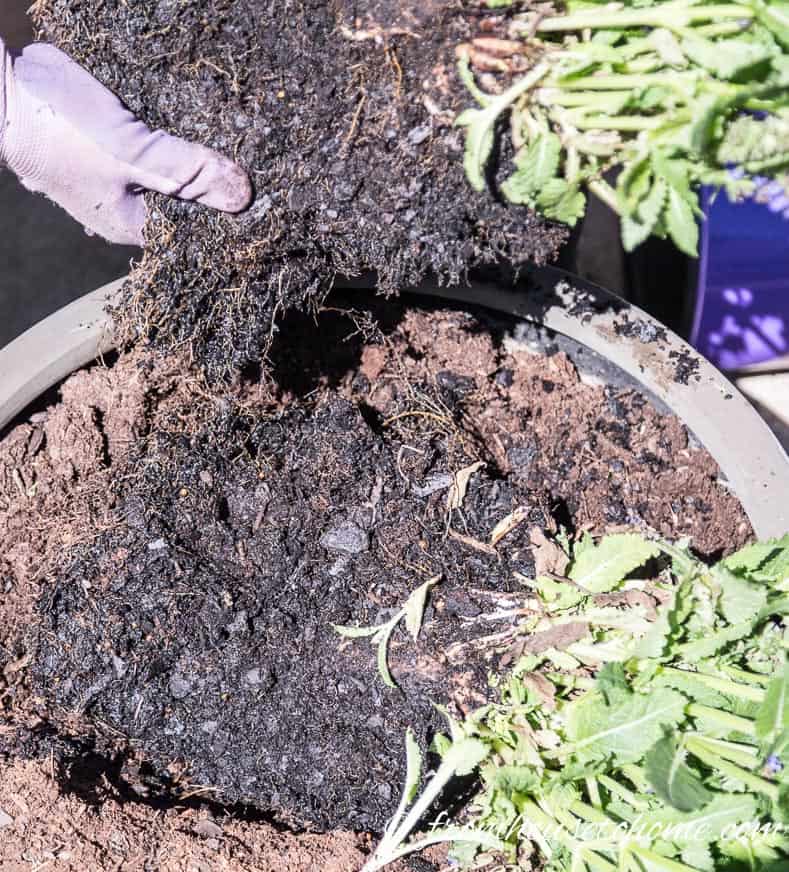
Pull the two sides apart, and voila…you have two plants!
Success Tip: If you are dividing a plant, make sure to plant both halves of the plant quickly, before the roots have a chance to dry out.
Step 3: Add the ‘Fillers’
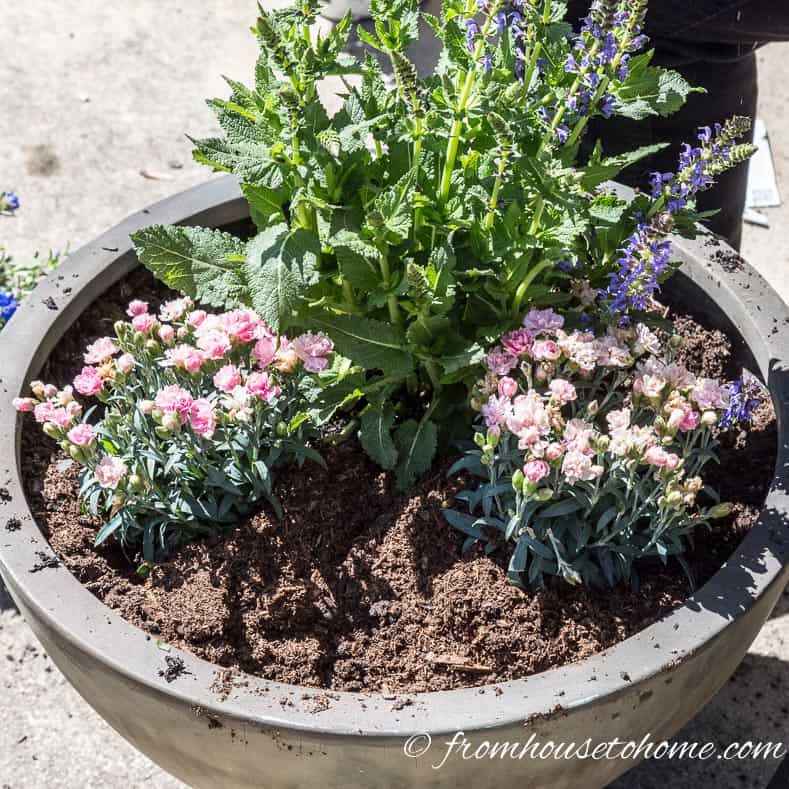
Fillers should be shorter than the ‘Thriller’ and have more of a mounding or spreading nature. You can use more than one type of plant for your fillers, but it usually works best if you have at least 2 or 3 pots of each type. Repeating the plants gives some consistency to the planter.
I started with 2 pink Dianthus plants placed on either side of the thriller (a little to the front of it). Add more soil if you need to bring them up to the right level in the pot.
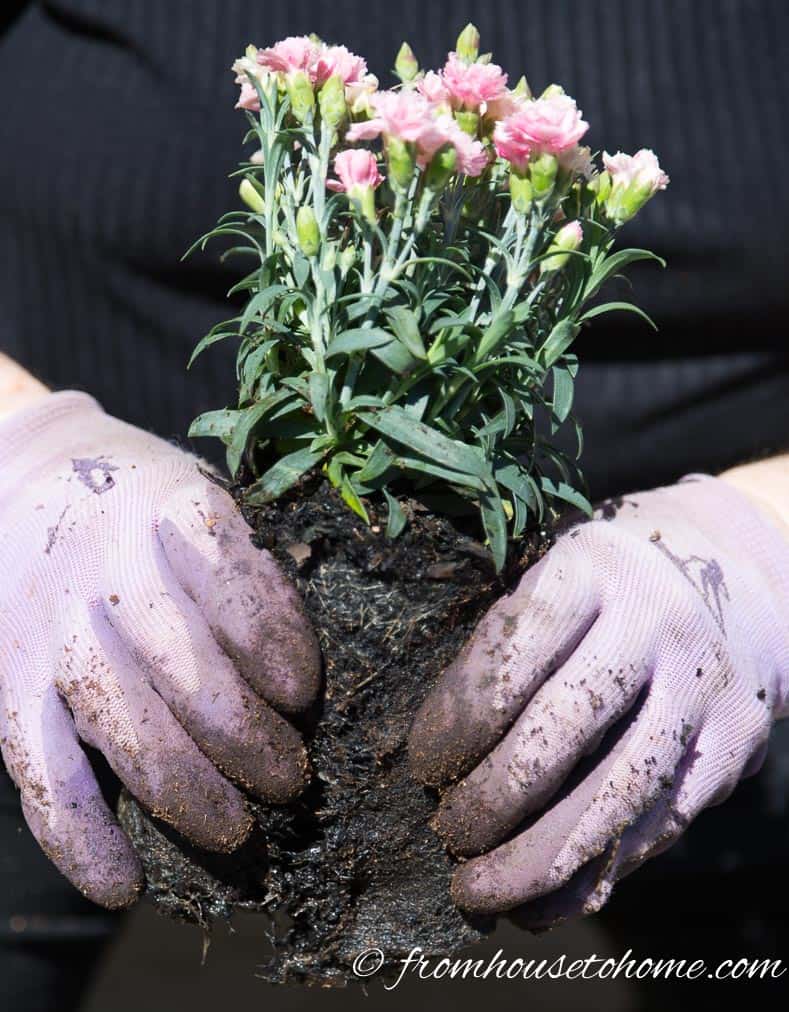
Pulling the root ball apart at the bottom will make the plants send out new roots into your planter’s soil.

For the second filler plant, I added 3 Dusty Millers, placed in between the other plants. Dusty Miller is one of my favorite container plants. With its silver and lacy leaves, it looks good with almost everything!
Success Tip: Adding ‘Fillers’ that have different leaf shapes and colors will add interest to your container.
Step 4: Add The ‘Spillers’

The ‘Spillers’ are the plants that will trail over the edges of the container. You will likely need at least 3 of these, and maybe more depending on the size of your container.
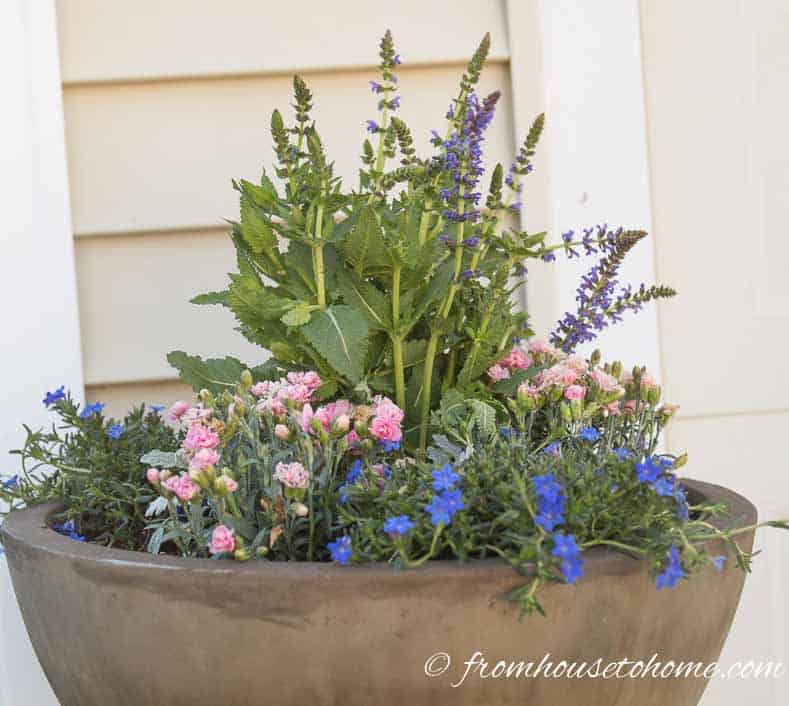
Place them around the edges of your container, filling in gaps between the filler plants. I used Browallia for this plant combination.
They will seem a little crowded, but that ‘s how you end up with a beautiful lush-looking container.
Top off the soil in the container if there are any low spots.
If you need to move the containers, put them where they are supposed to go. Then water thoroughly (trying to move the planters when they are full of water is much heavier work!)

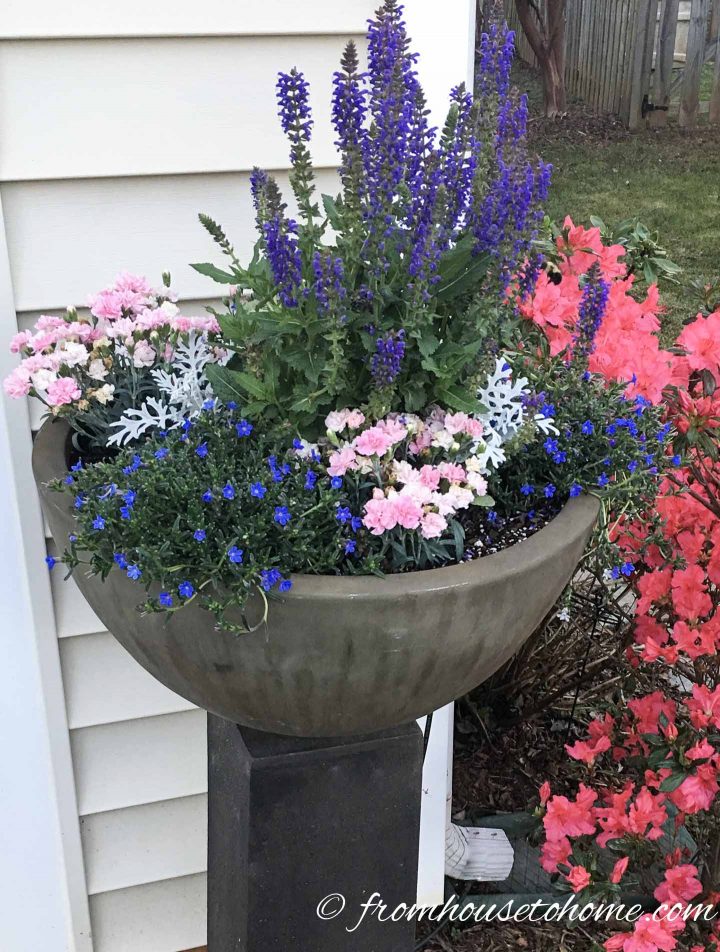
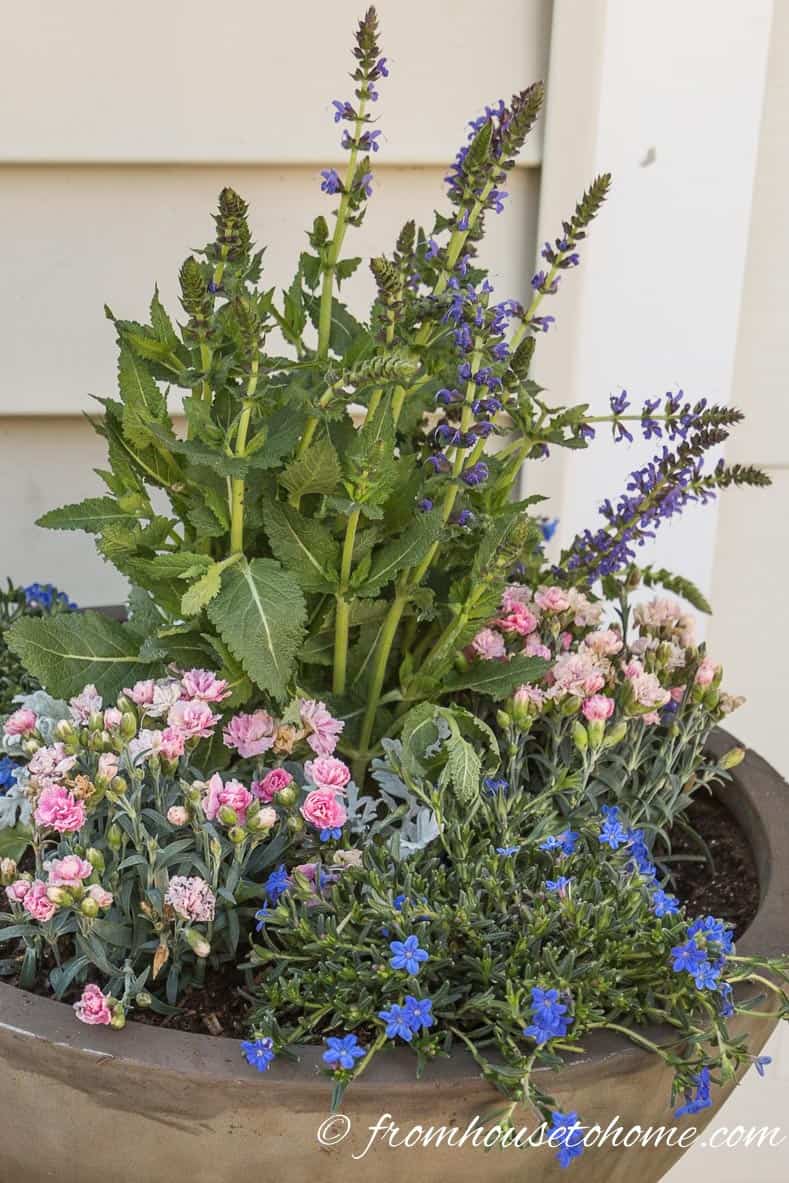
With some watering and a little fertilizer, these plants will grow to fill the whole container.
They always make a statement in front of the garage.
Success Tip: Fertilize your containers monthly to keep the plants blooming.

Pin It So You Don't Forget It!
[/span6][/columns]
Have questions or comments on the no-fail method to planting beautiful containers? Tell us in the section below.

This post was originally published on March 21, 2017 but was updated with new content on September 15, 2022.
Beautiful and helpful. My planters always seem to be lacking. Now I need an easy way to water them. I am in an apt. With a balcony and dislike carrying the water.
Happy to be helpful, Elaine. I like to add moisture retaining pellets to the soil when I am potting up or I buy soil with them already added. They help to keep the pots from drying out as fast. I also find that the larger the pot the less often it needs watering. I have a small diameter hose that attaches to an indoor tap that is meant for watering indoor plants that could be used on the balcony. A similar one is at http://amzn.to/2nn7yQM. Hope this helps.